Asona - Ghost Theme Documentation
Welcome to Asona documentation. Asona is a Minimal Blog & Magazine Ghost Theme.
This theme is extremely beginner friendly but if there is something that isn't in the documentation or isn't clear to you please emails us at support@apalodi.com and ask your question. It would help if you provide also your site link.
Check it out at https://ghost.apalodi.com/asona/
Getting Started
Since this is a Ghost theme documentation, it is assumed that you have a basic knowledge of how to use Ghost.
If you're just starting out with Ghost, it is best to see the guides in the official Ghost Help Center - check this out and you'll have all the information that is available.
Installation
Follow the steps below to upload the theme:
- Log in to your publication admin section at
yoursite.com/ghost/ - Go to Settings > Design (
yoursite.com/ghost/#/settings/design/) - Click Change theme and then click Upload theme and select the
asona.zipfile. - After the upload is complete click Activate
Updates
Before installing a new version of this theme please do not forget to make a backup of the version you are currently using.
If you have not modified any files in the theme folder previously, you can simply upload the new file asona.zip in the Ghost Admin and that's it.
However, if you have made changes to some files previously, you must apply those changes to the files in the folder corresponding to the latest version, otherwise your changes will be overwritten.
Features
Dark Mode
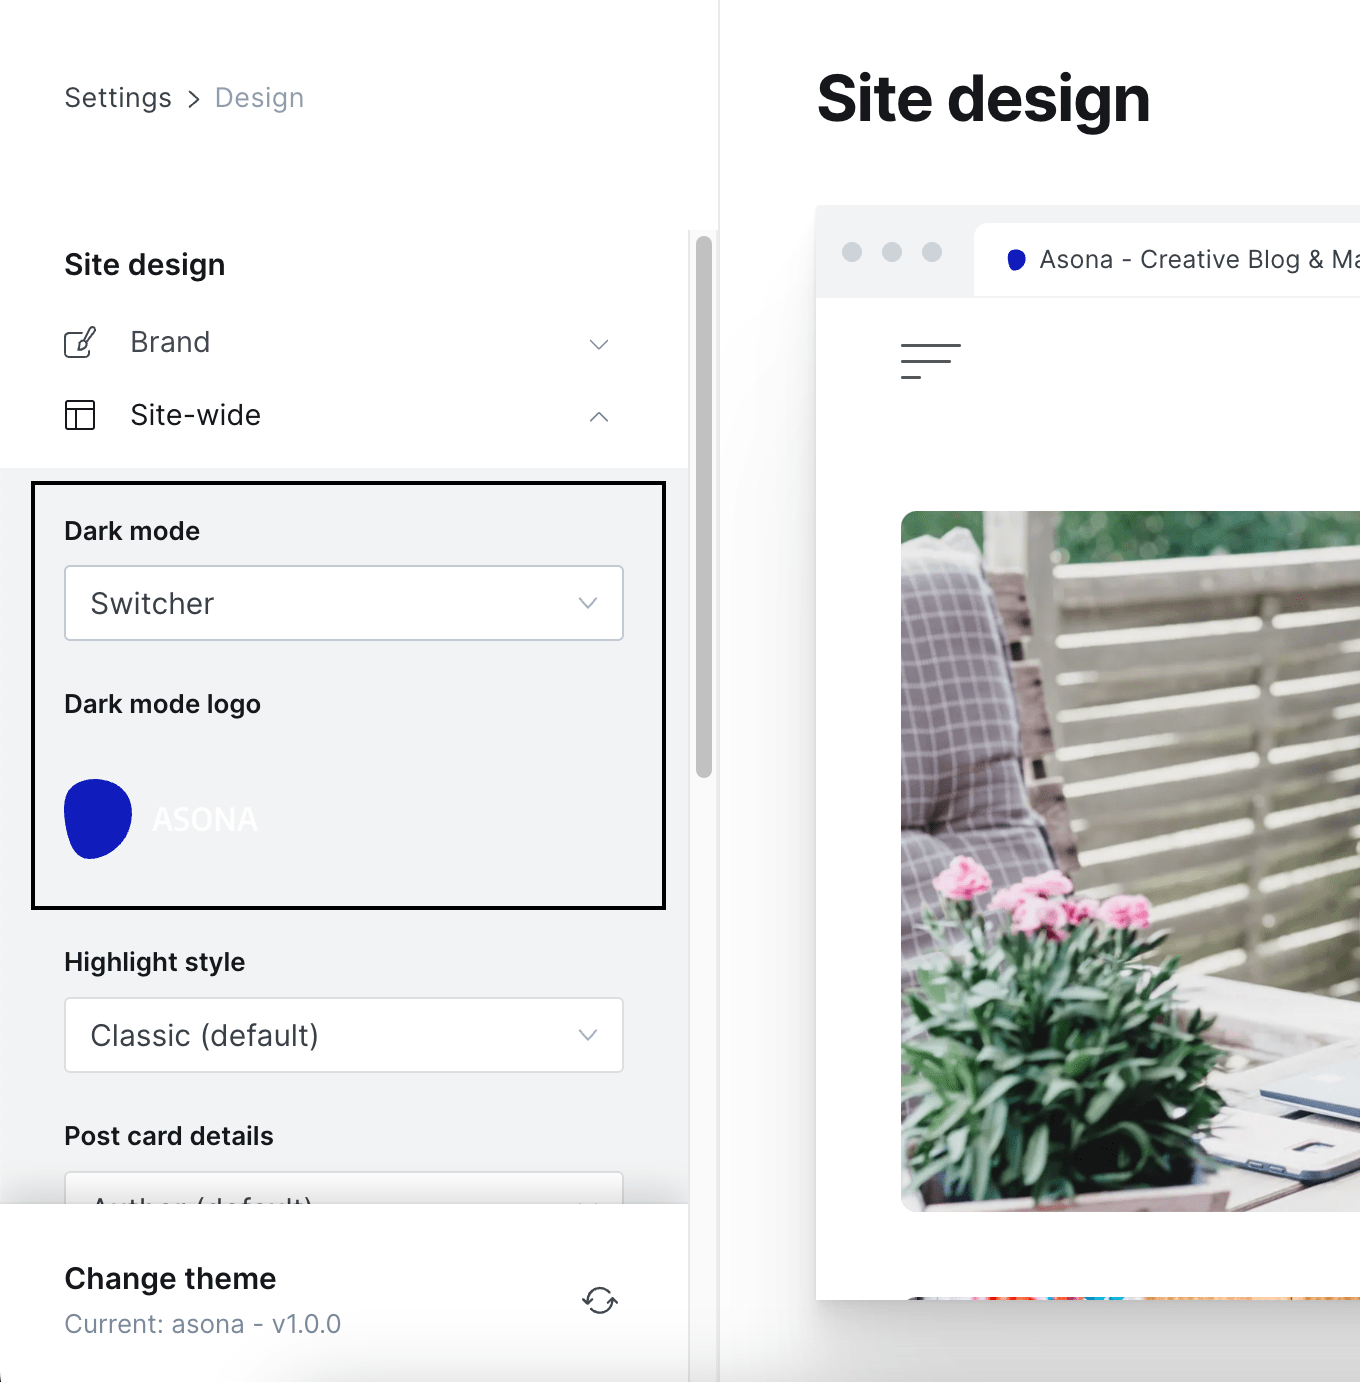
When you go to Settings > Design > Site Wide you can enable dark mode. There are 3 options to choose from.
- Disabled
Only Light theme will be visible to users - Always On
Only Dark theme will be visible to users - Switcher
Adds option for each user to set the desired theme for themselves
You can also add a custom logo for dark mode.
Dark Mode Accent Color
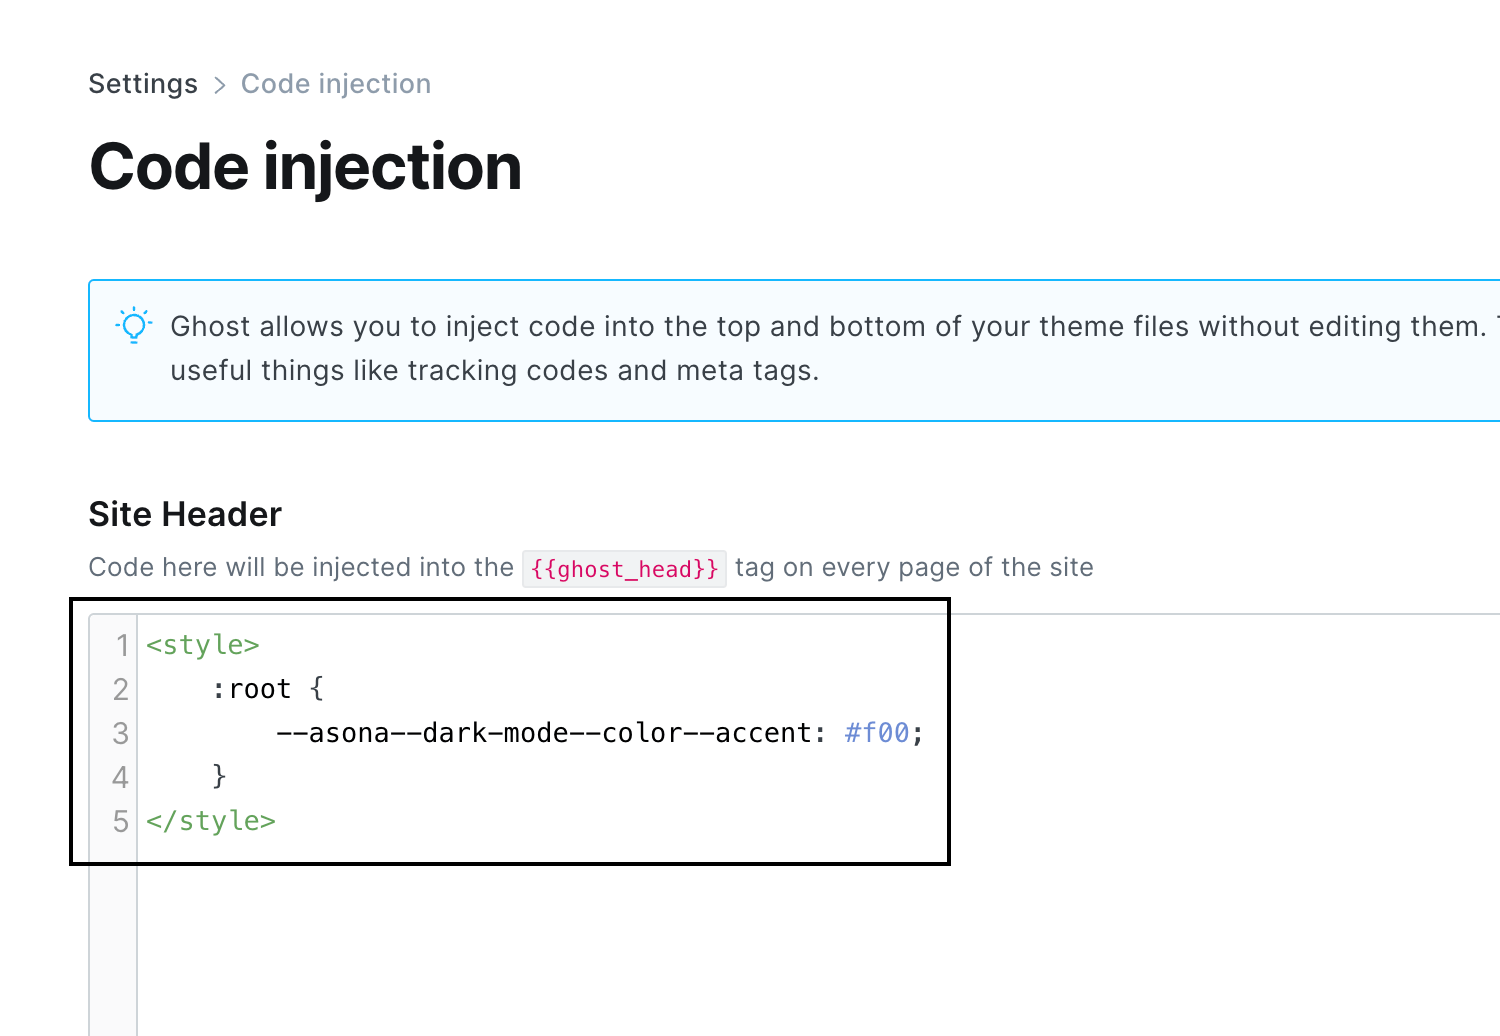
Sometimes your accent color won't work nicely with the dark mode so we added a way for you to change the accent color on dark mode.
Go to Settings > Code injection and enter custom style setting that will add custom color.
<style>
    :root {
        --asona--dark-mode--color--accent: #f00;
    }
</style>
2 Highlight Styles
When you go to Settings > Design > Site Wide you can select what highlight style you want.
- Classic (default)
Grid with one bigger post. - Modern
Parallax and fade effect on scroll. Check it out at https://ghost.apalodi.com/asona/modern/

2 Post Styles
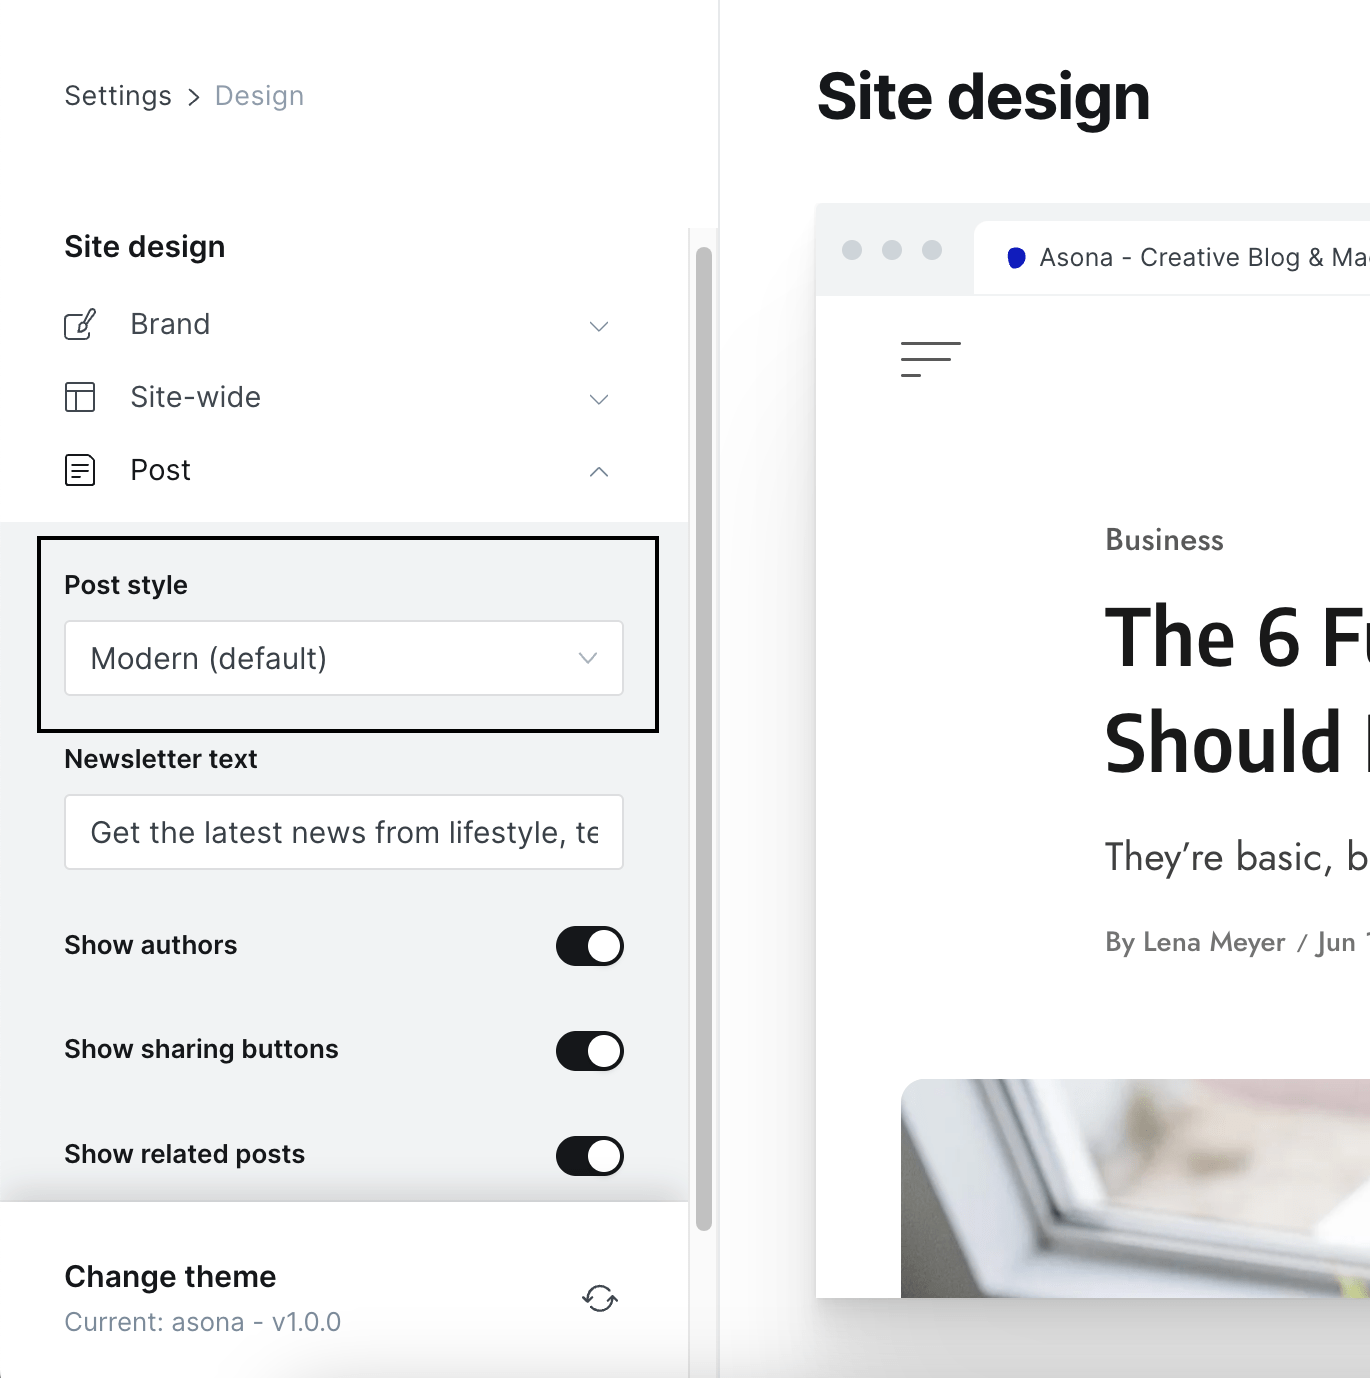
When you go to Settings > Design > Site Wide you can select the post style.
- Modern (default)
Text on left and image on the right. - Classic
Text on top and image below. Check it out at https://ghost.apalodi.com/asona/bags-are-complimenting-every-single-style-of-clothin/
There is also 2 templates so you can individually change the post style for each post.
- Post Classic Heading
- Post Modern Heading
Submenus
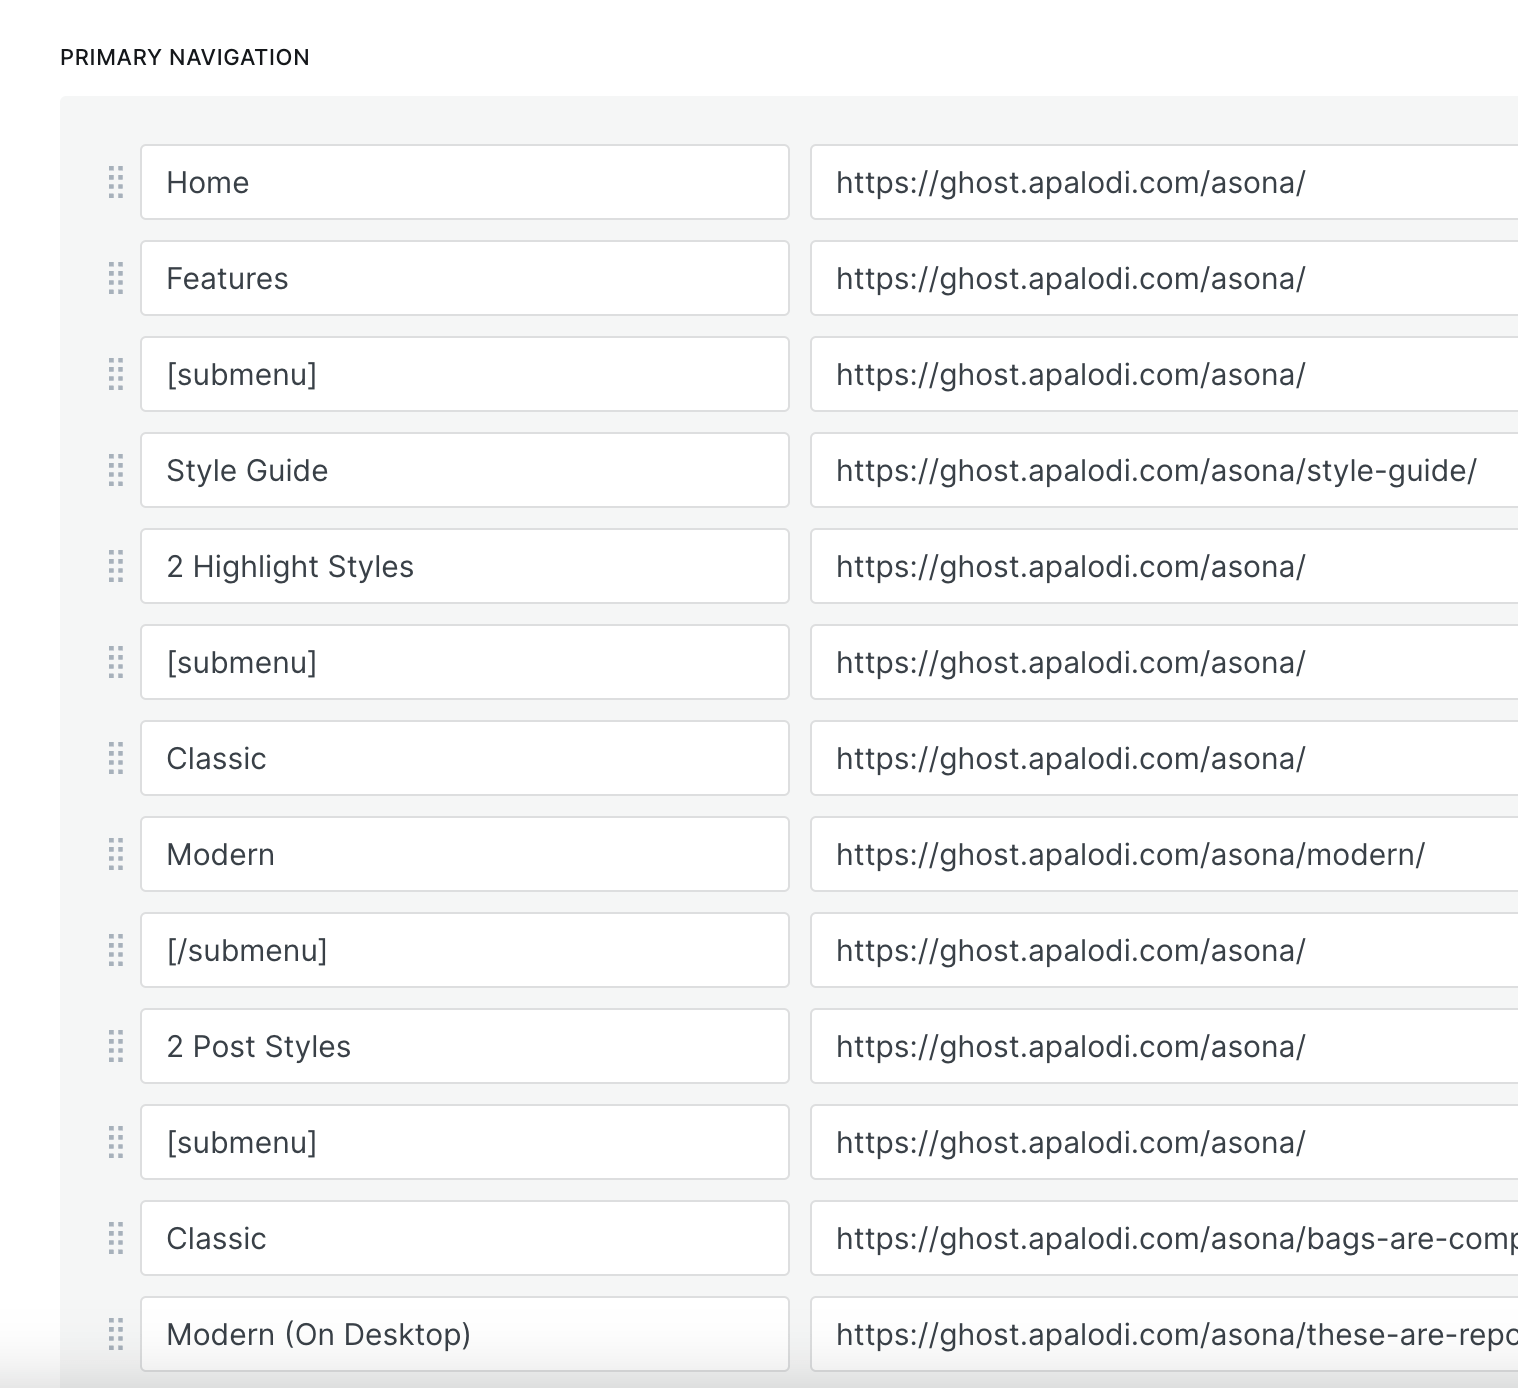
To create a submenu all you need is to wrap your items with [submenu] and closing [/submenu].
The previous menu item will become the parent item and link will be removed from it as that item will be converted to a button that when you click on mobile it opens the submenu.

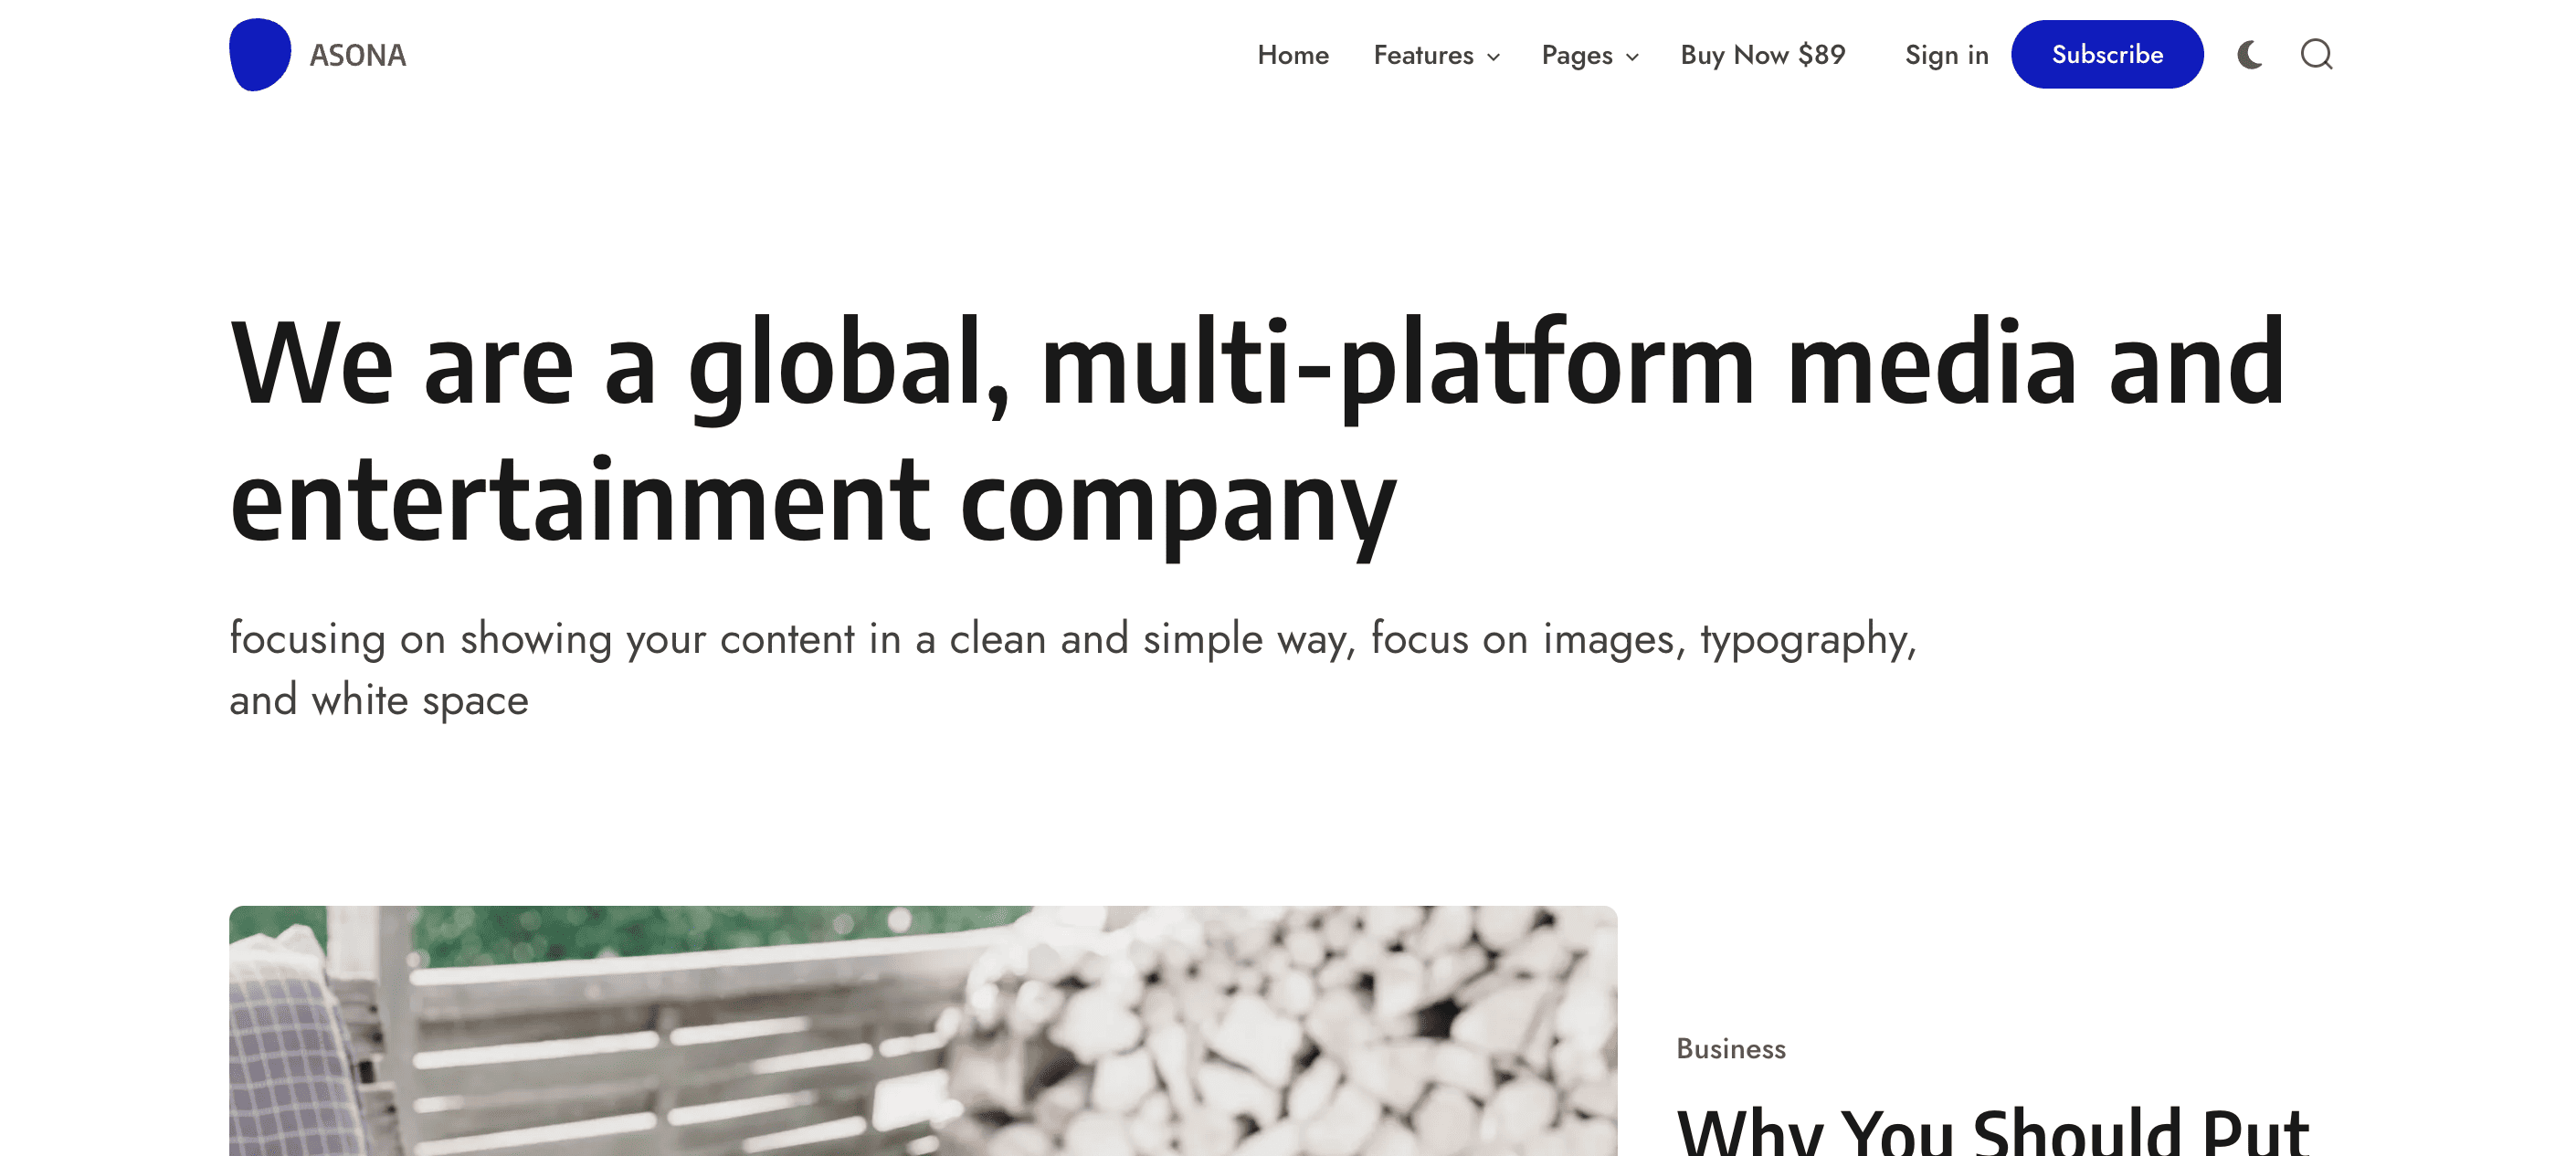
Hero Section
The hero section is a section that is displayed at the top of the homepage. You can add image and text to the section.
You can use html tags like h1, h2, p, a etc. To add a button you can use class button e.g. <a href="#" class="button">Button Text</a> and it will automatically create a button with the text you provided.

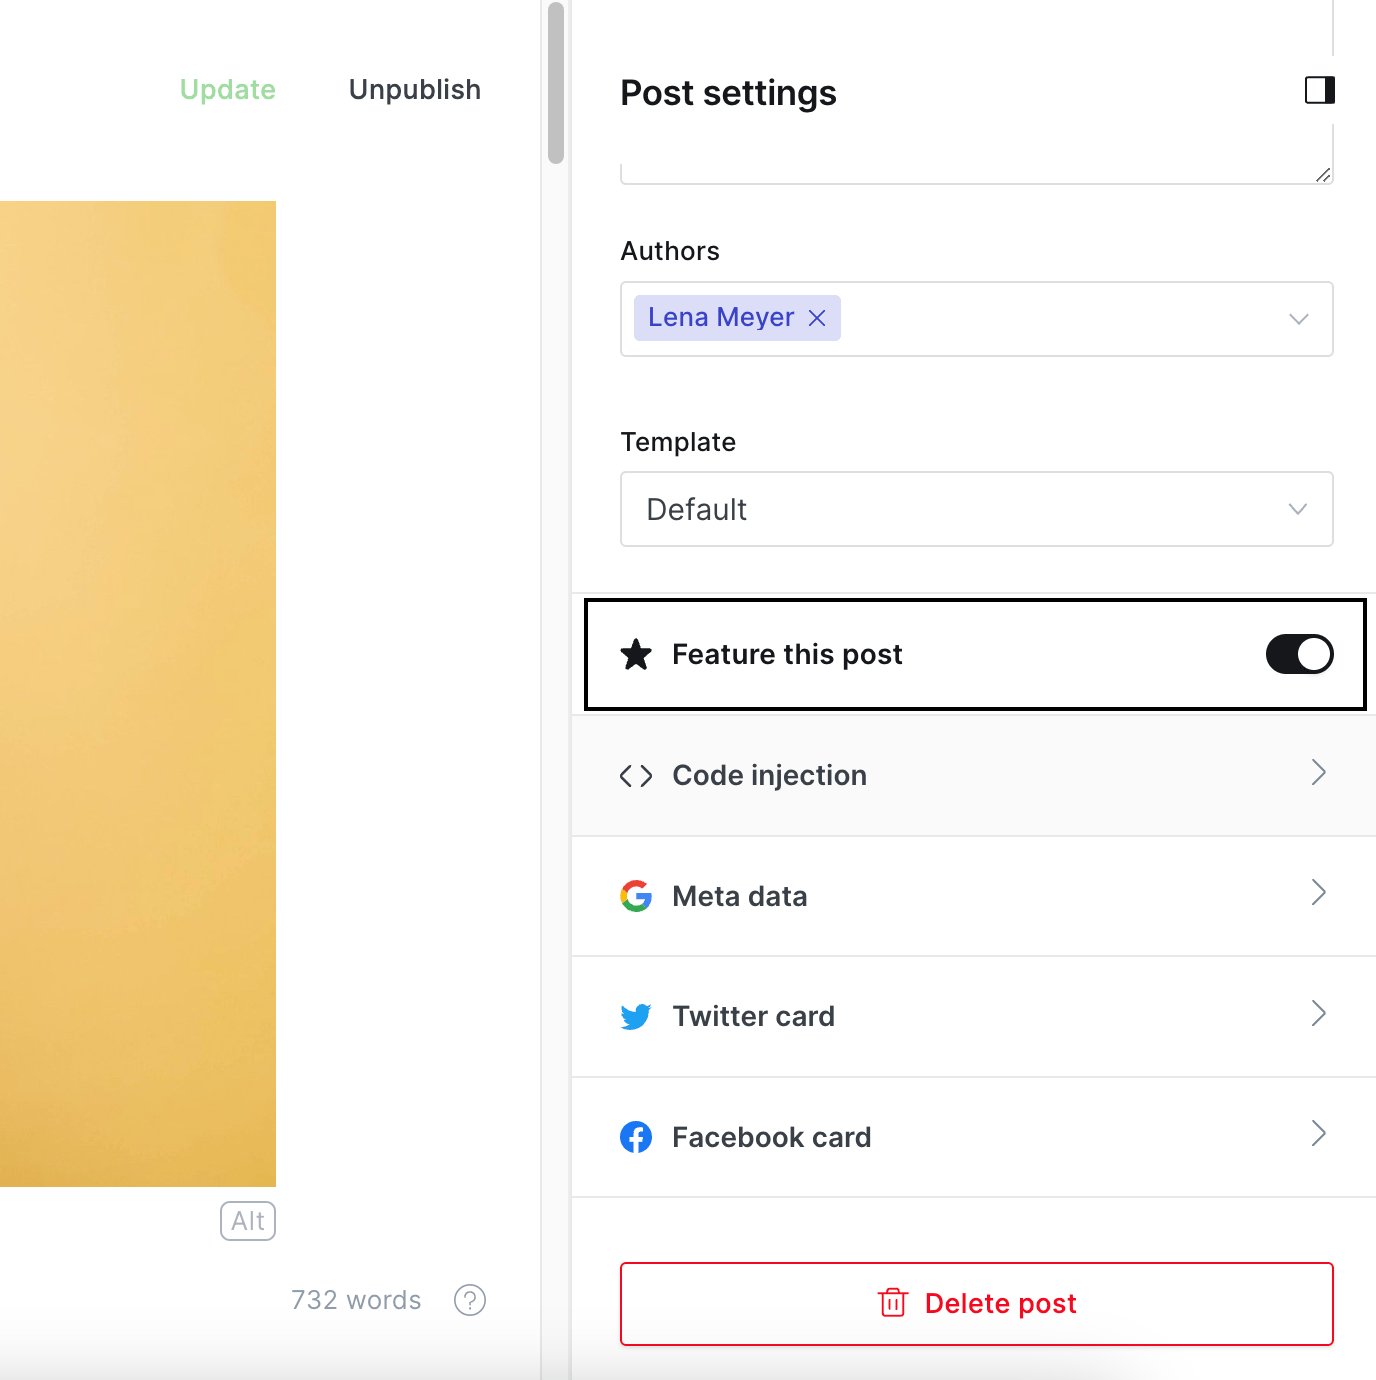
Featured Posts
Featured posts will load always the latest 4 featured. All you need to do is go into the post and in the sidebar click Feature this post
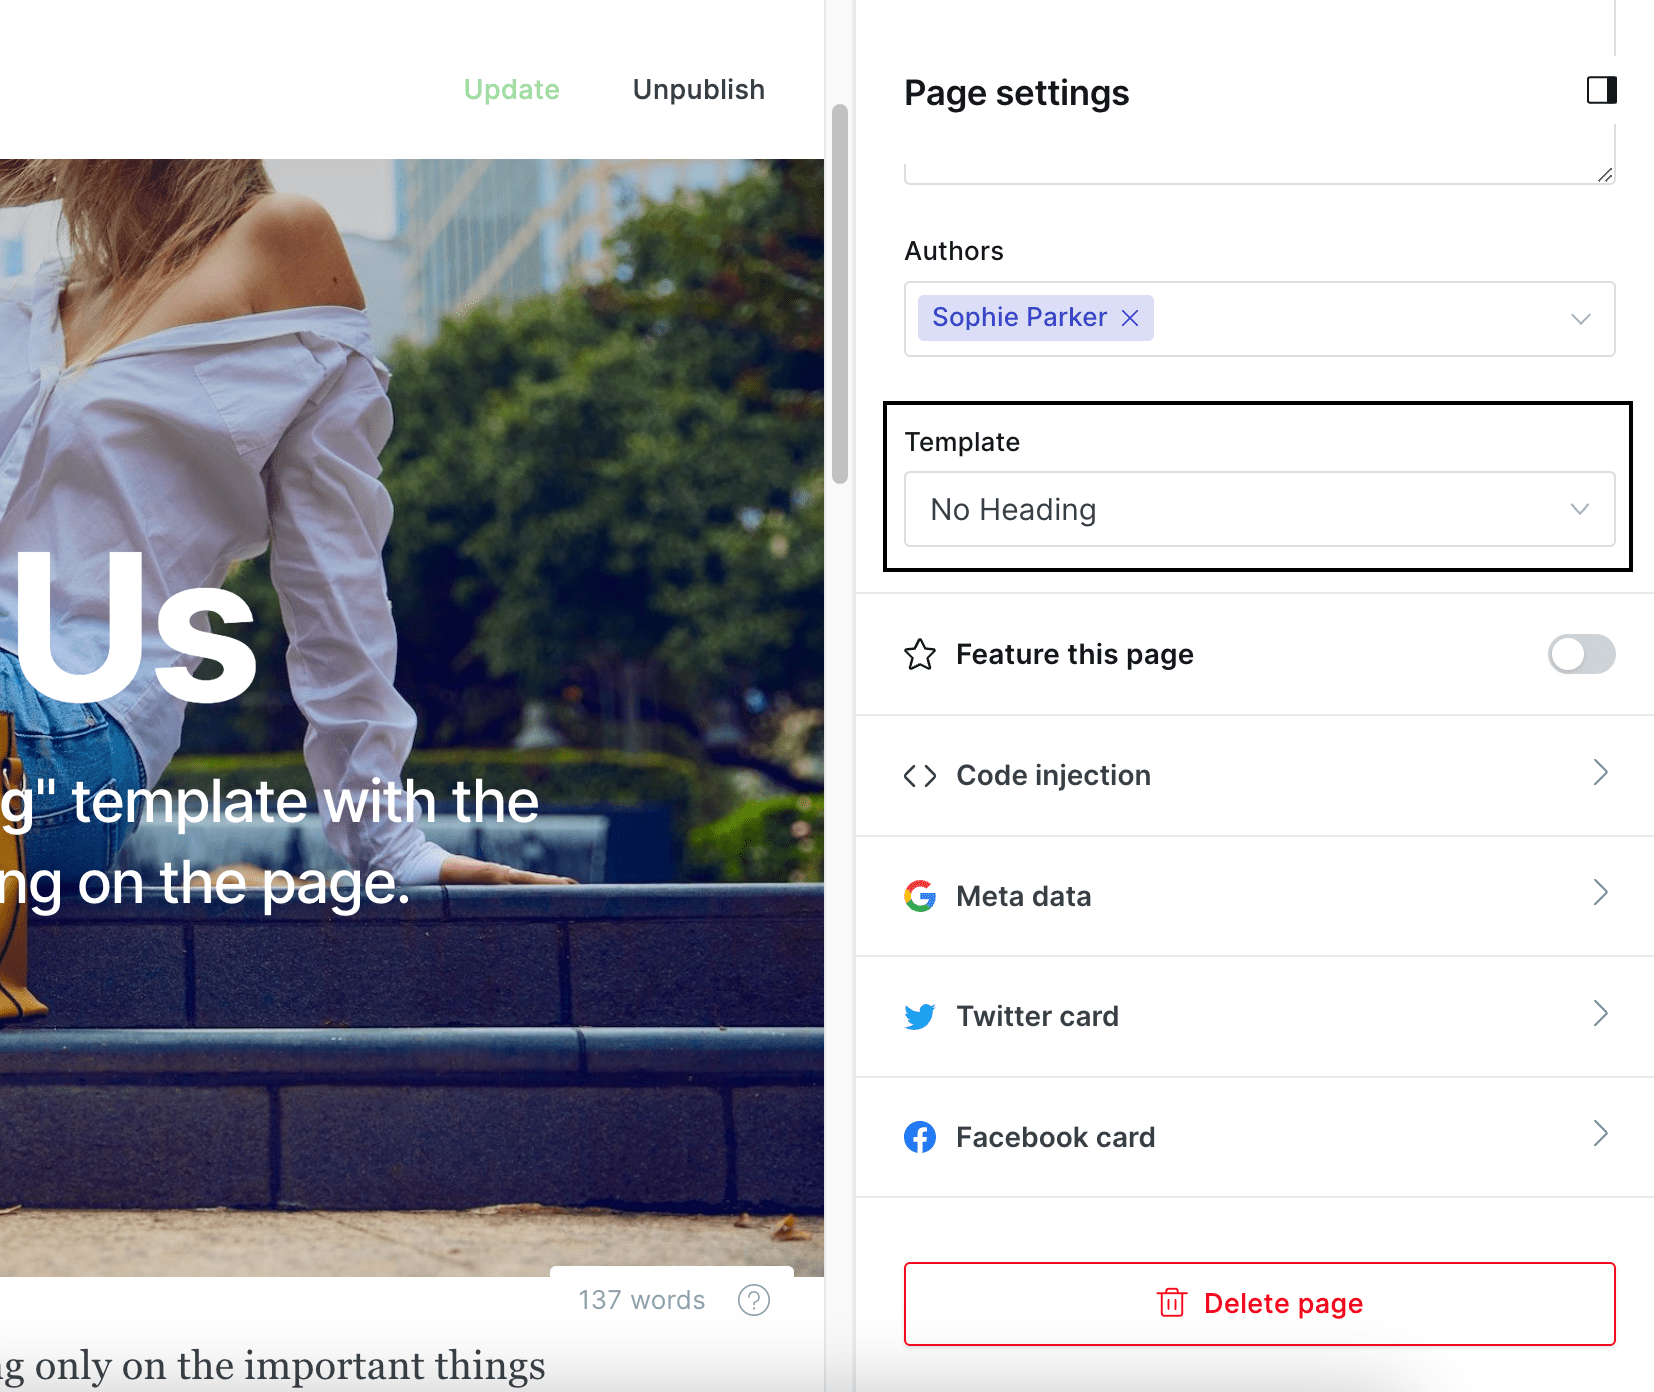
Custom Templates
Theme adds custom templates for the pages and posts. All you need to do is go to the post/page sidebar and select the template.
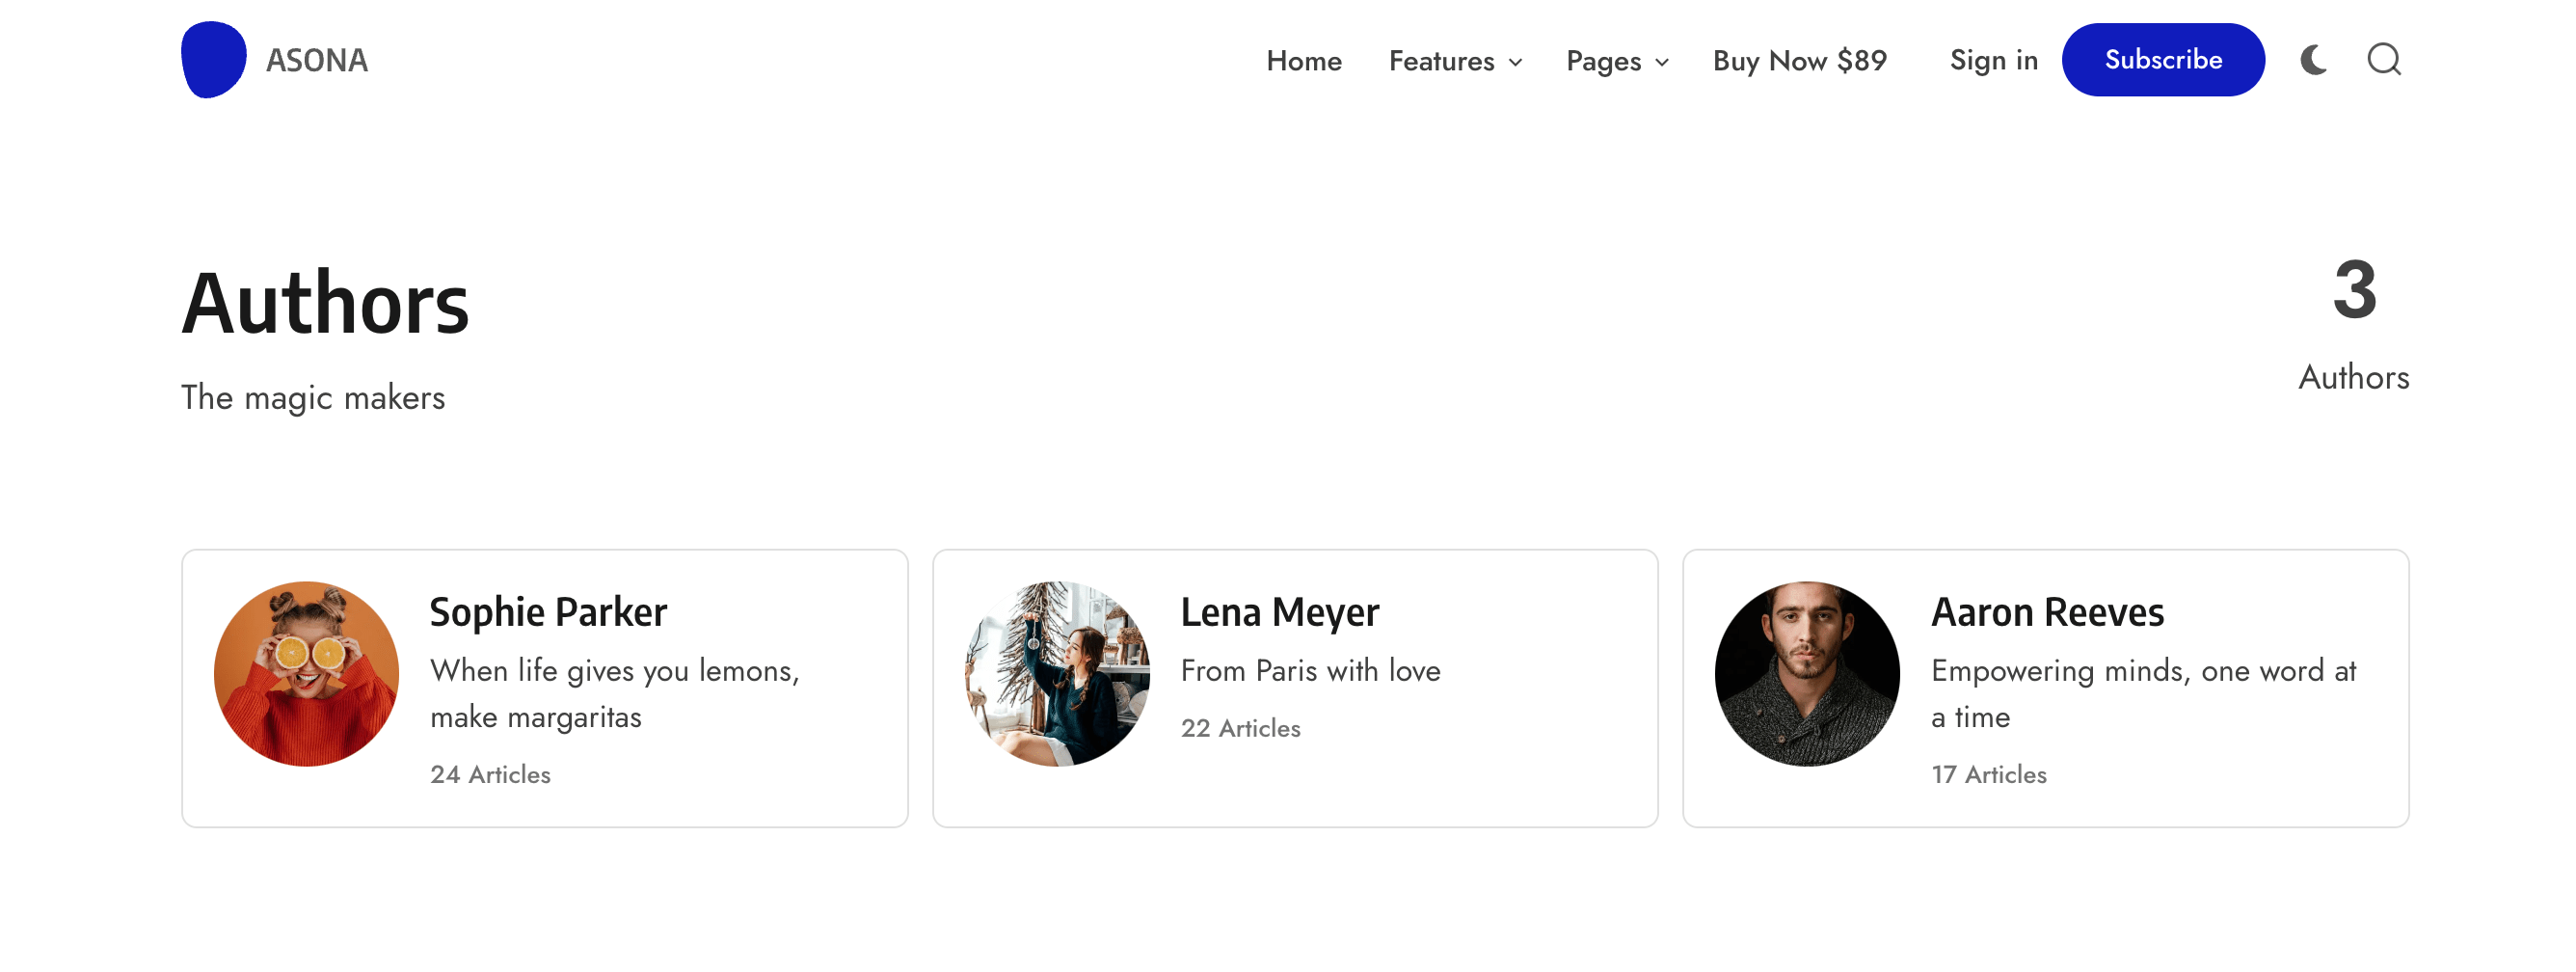
Authors Template
To present all authors from your publication you can create a new page (call it how you want) and select the page template Authors. Add optionally featured image and excerpt to show as description.
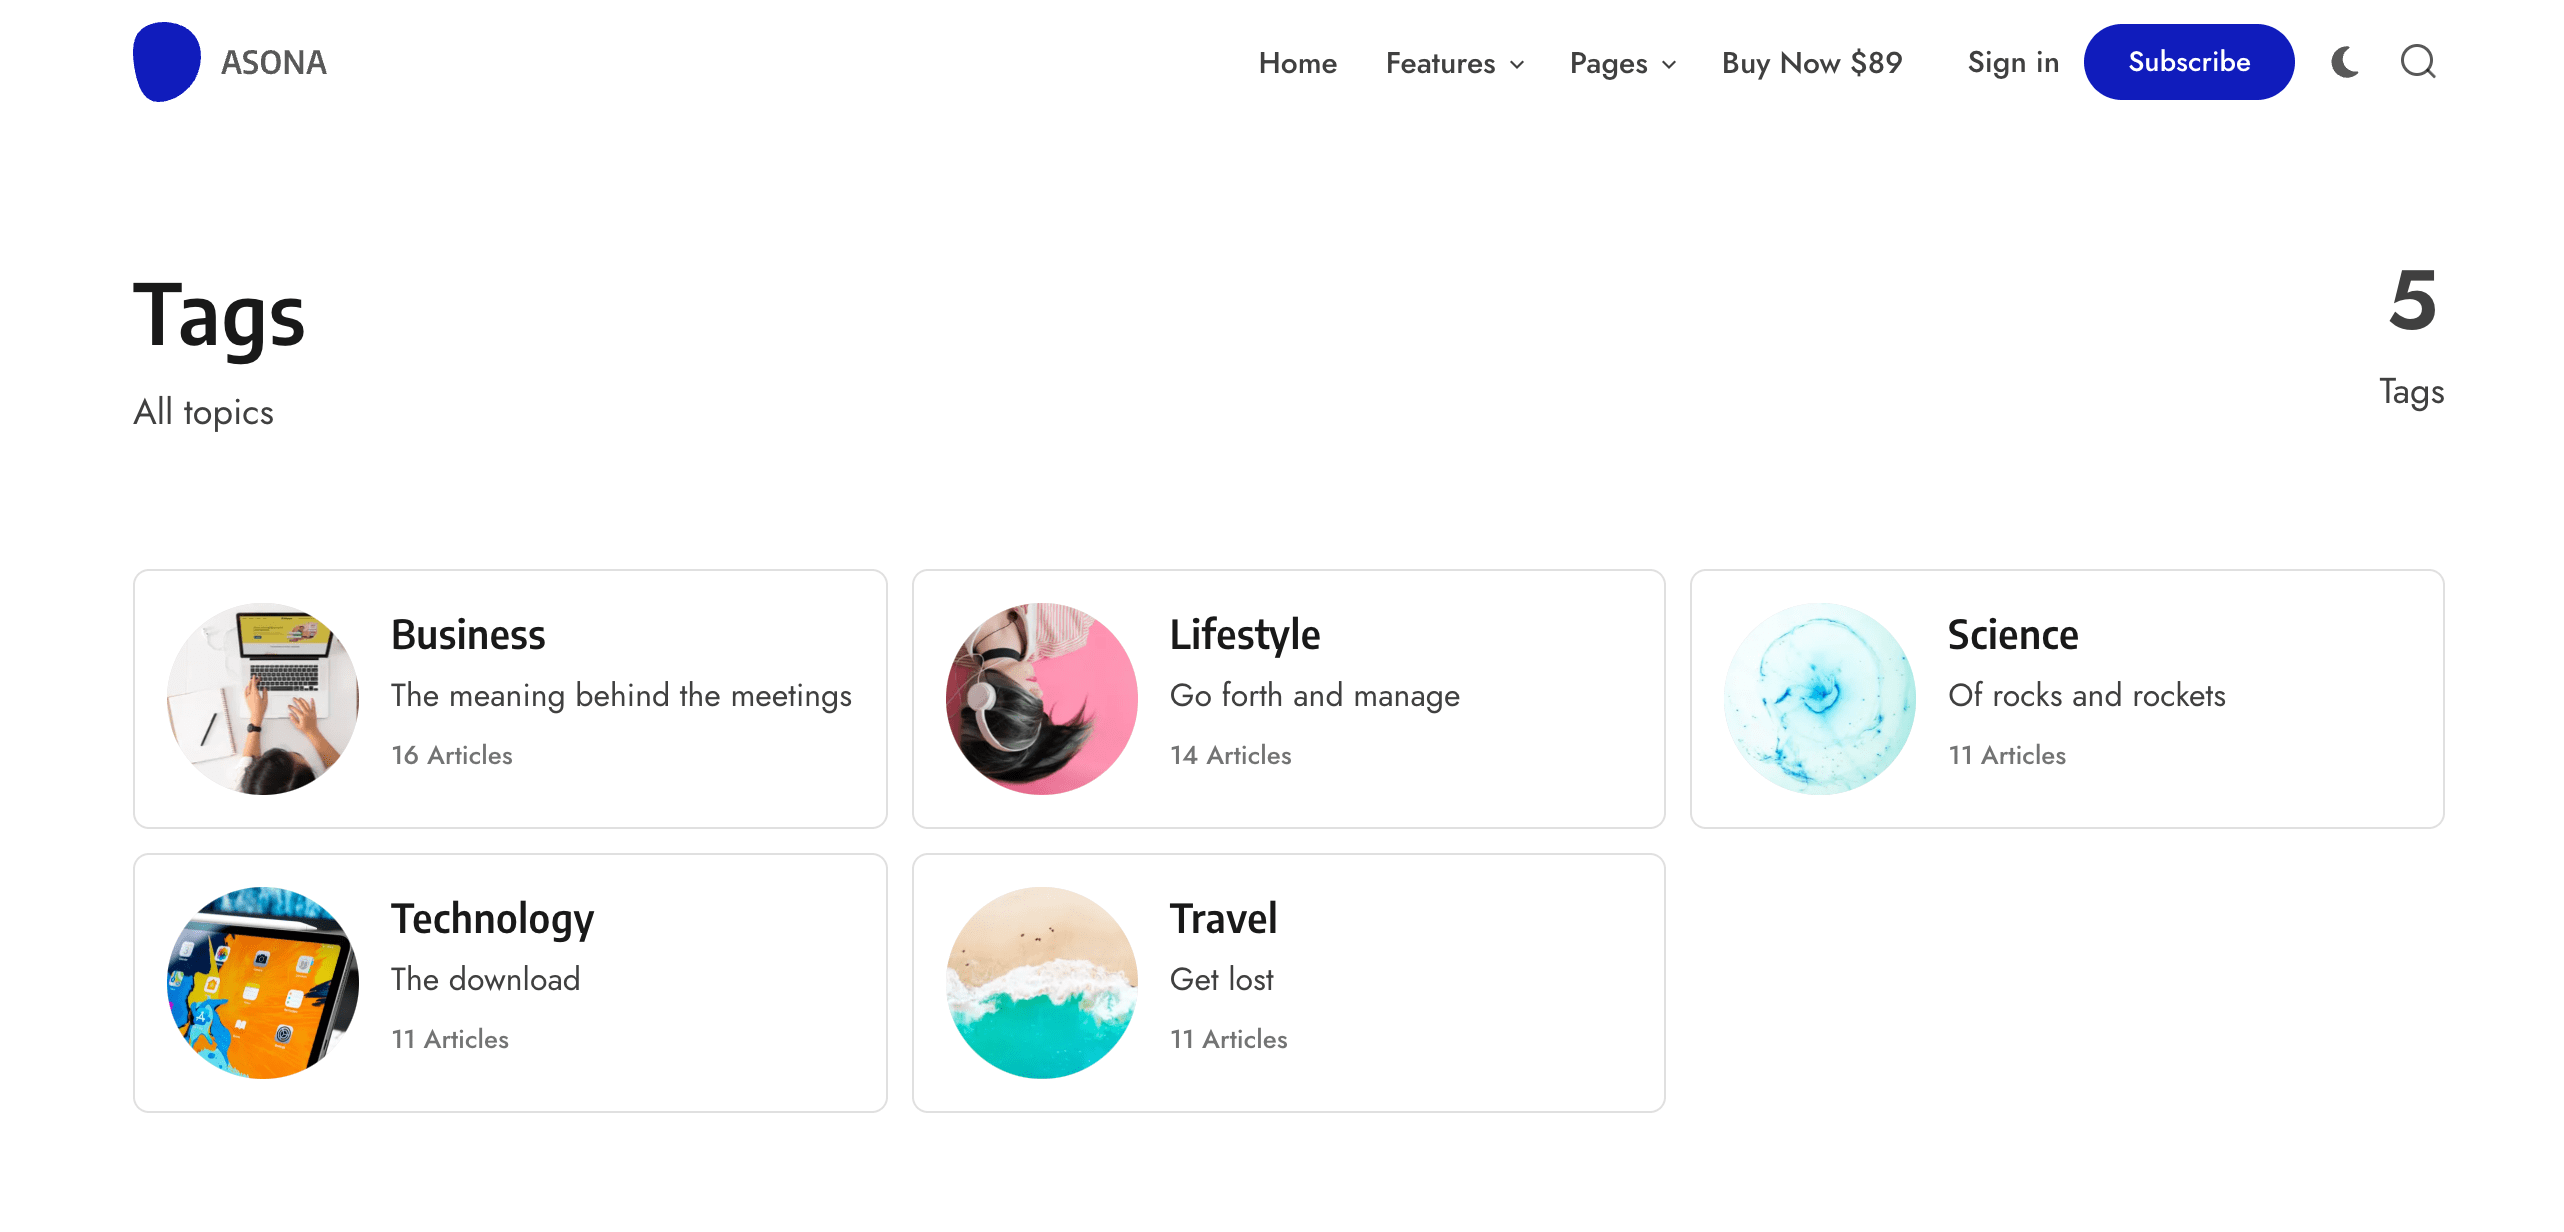
Tags Template
To present all tags from your publication you can create a new page (call it how you want) and select the page template Tags. Add optionally featured image and excerpt to show as description.
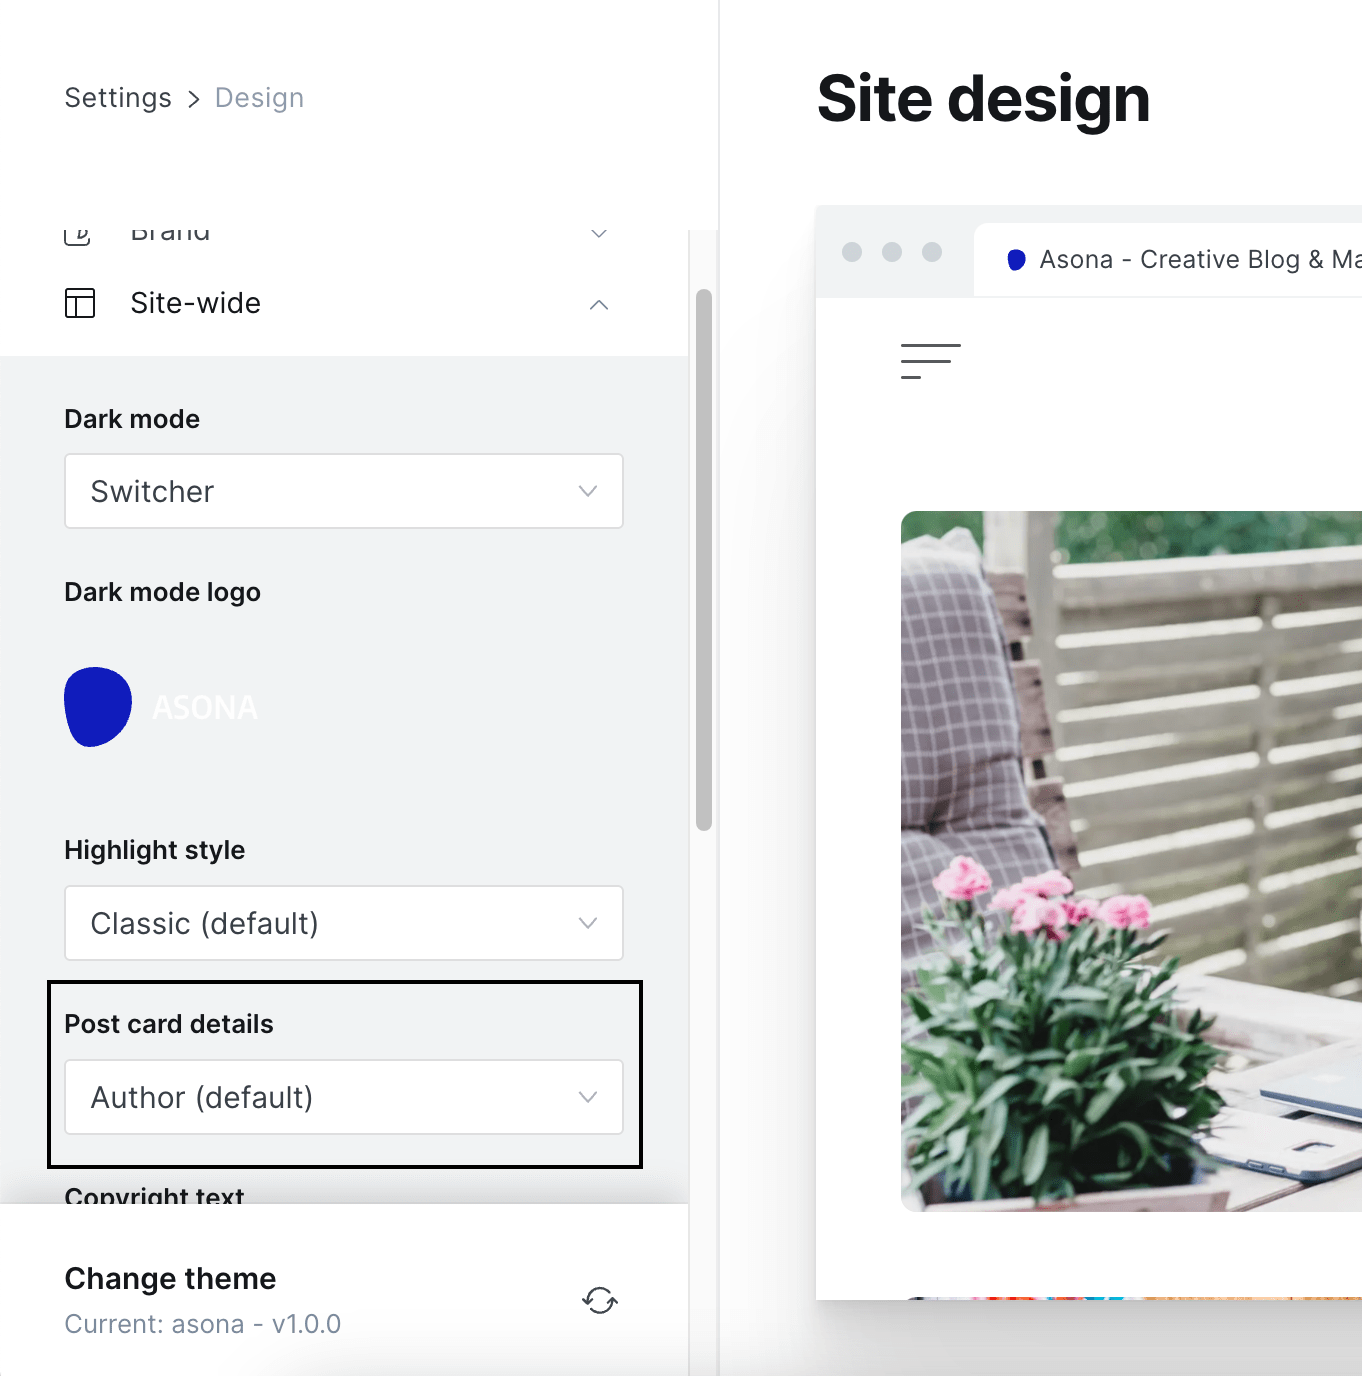
Post Card Details
When you go to Settings > Design > Site Wide you can choose what things you would like to display on the post card.
- Author (default)
- Author & Date
- Author & Excerpt
- Author & Date & Excerpt
- Date
- Date & Excerpt
- Excerpt
- None
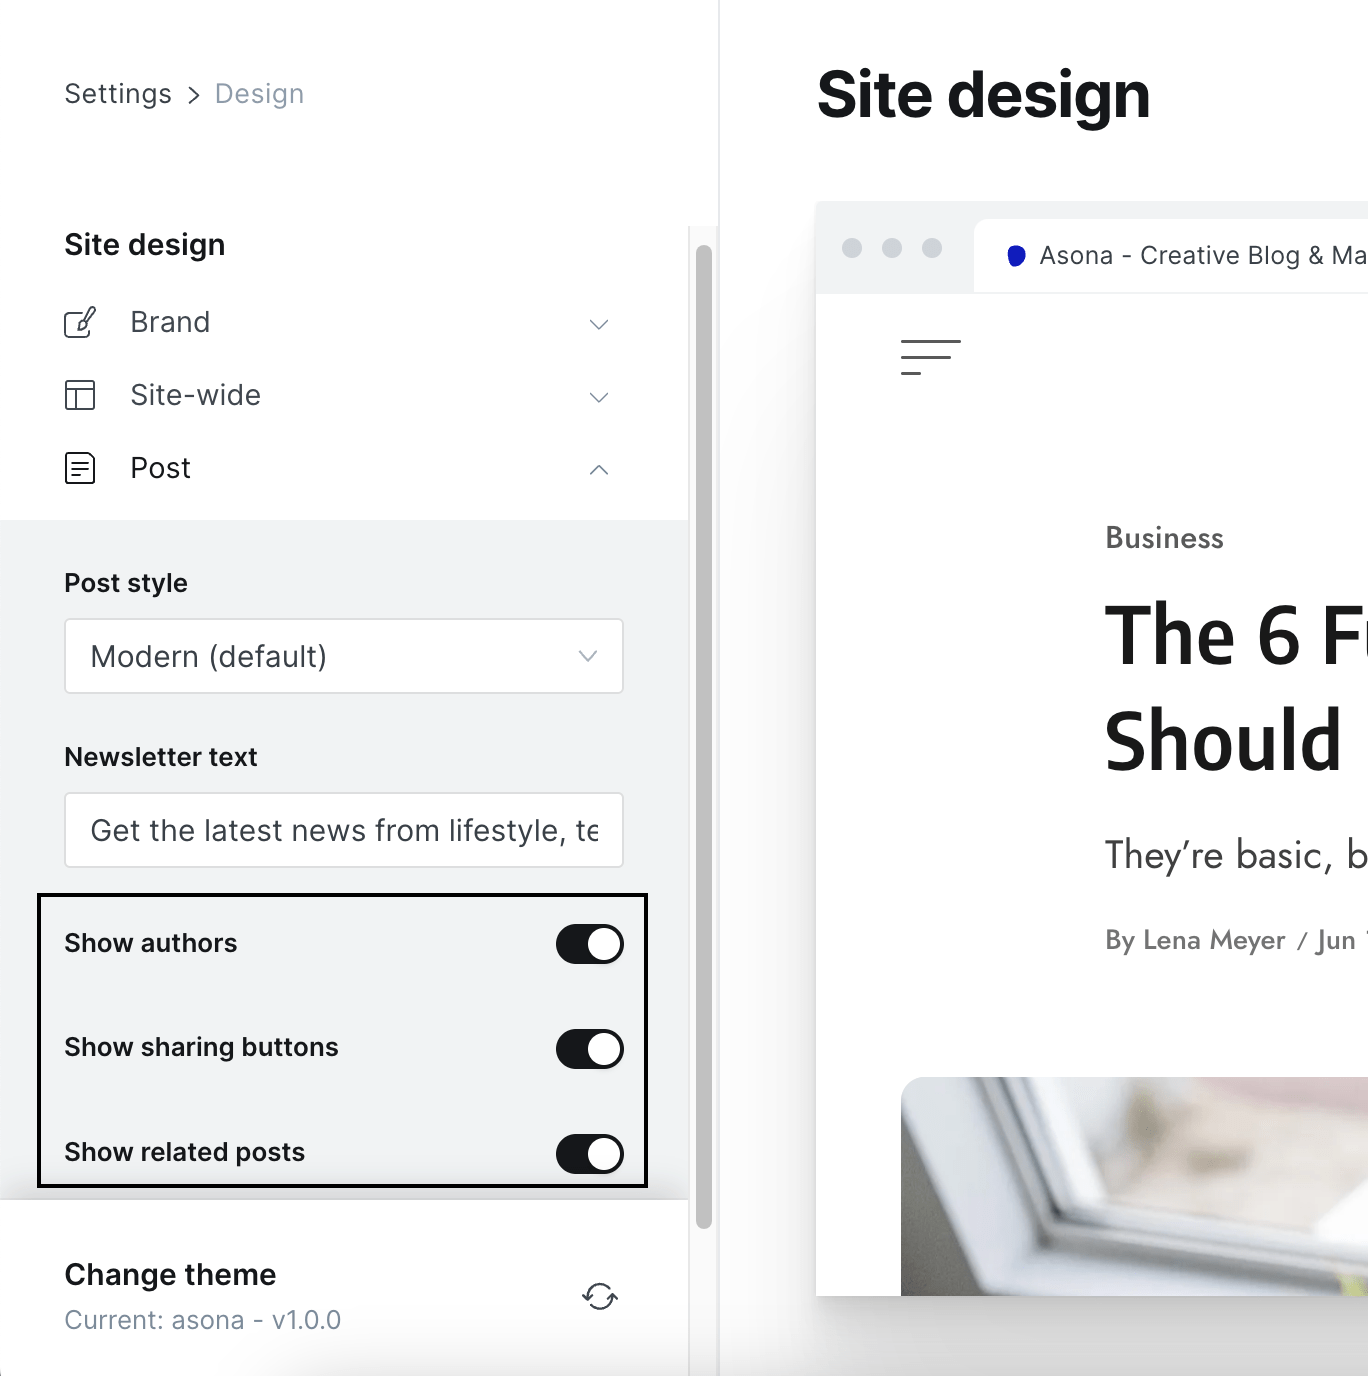
Post Settings
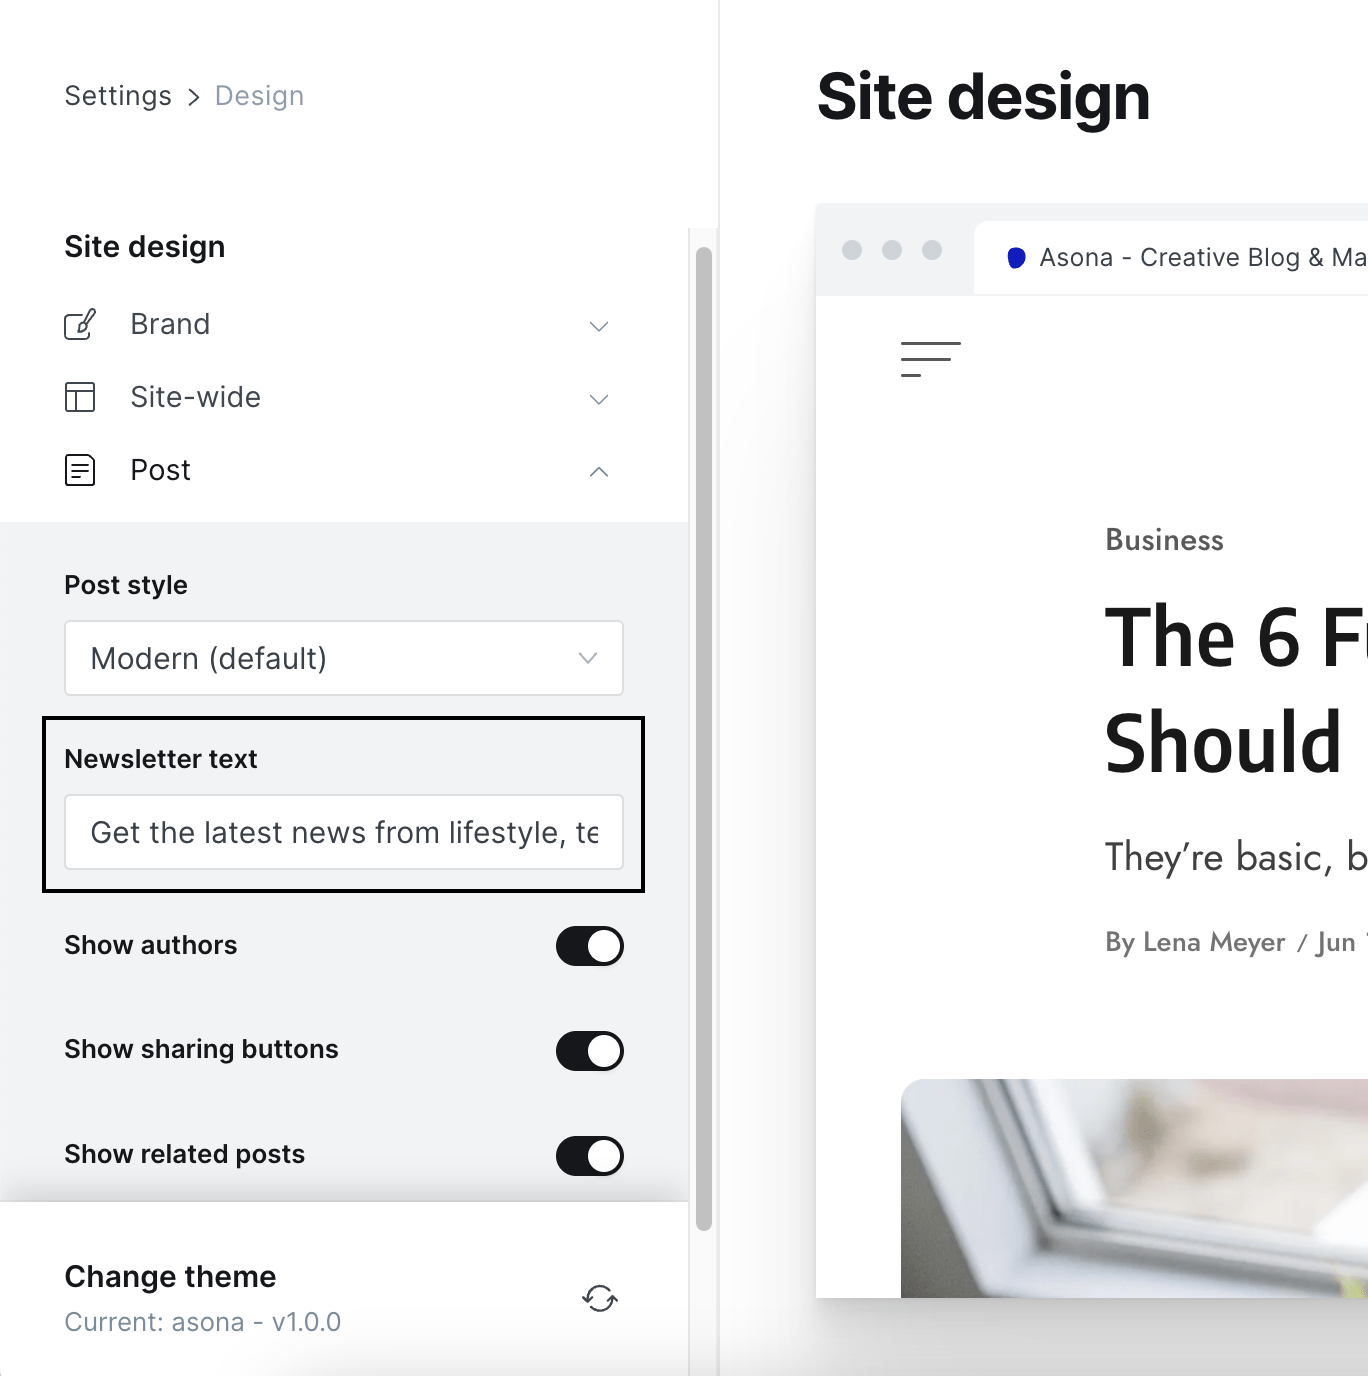
When you go to Settings > Design > Post you can choose what things you would like to display on the post. Authors, sharing buttons and related posts.
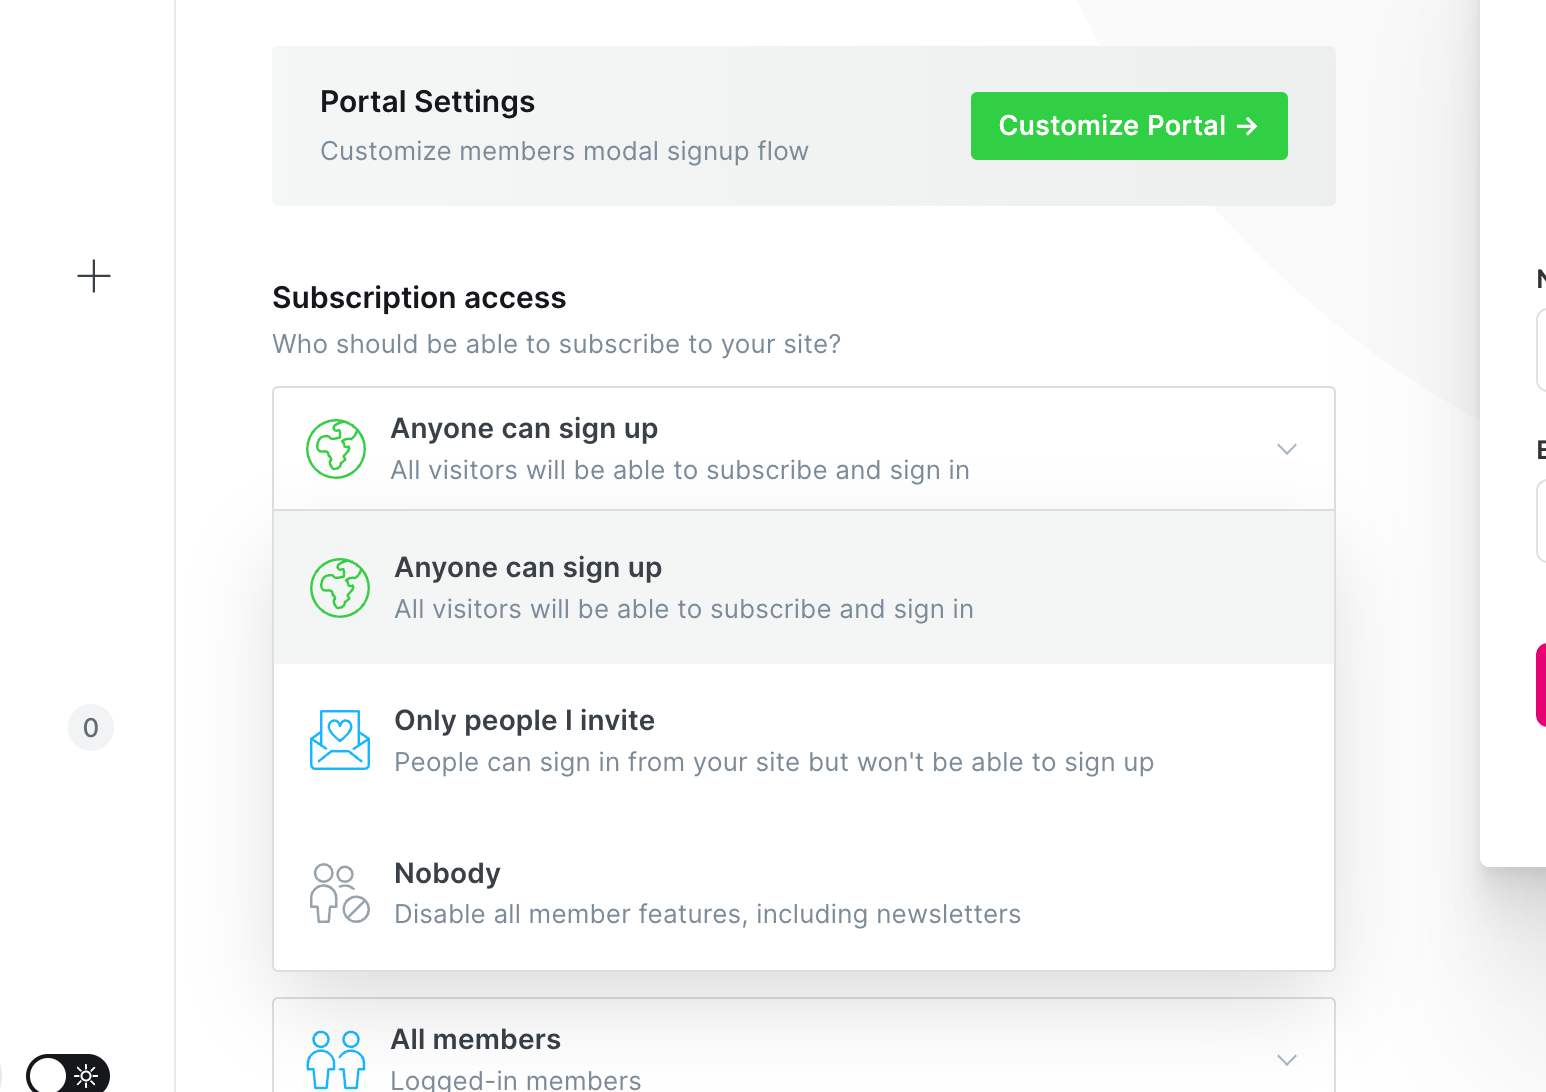
Newsletter
First you need to enable Subscriptions in Settings > Membership.
By default theme adds a Newsletter box to the posts. To customize the text you can change it in the Settings > Design > Post section.
If you remove the text and leave the field empty it will remove the Newsletter box from the posts.
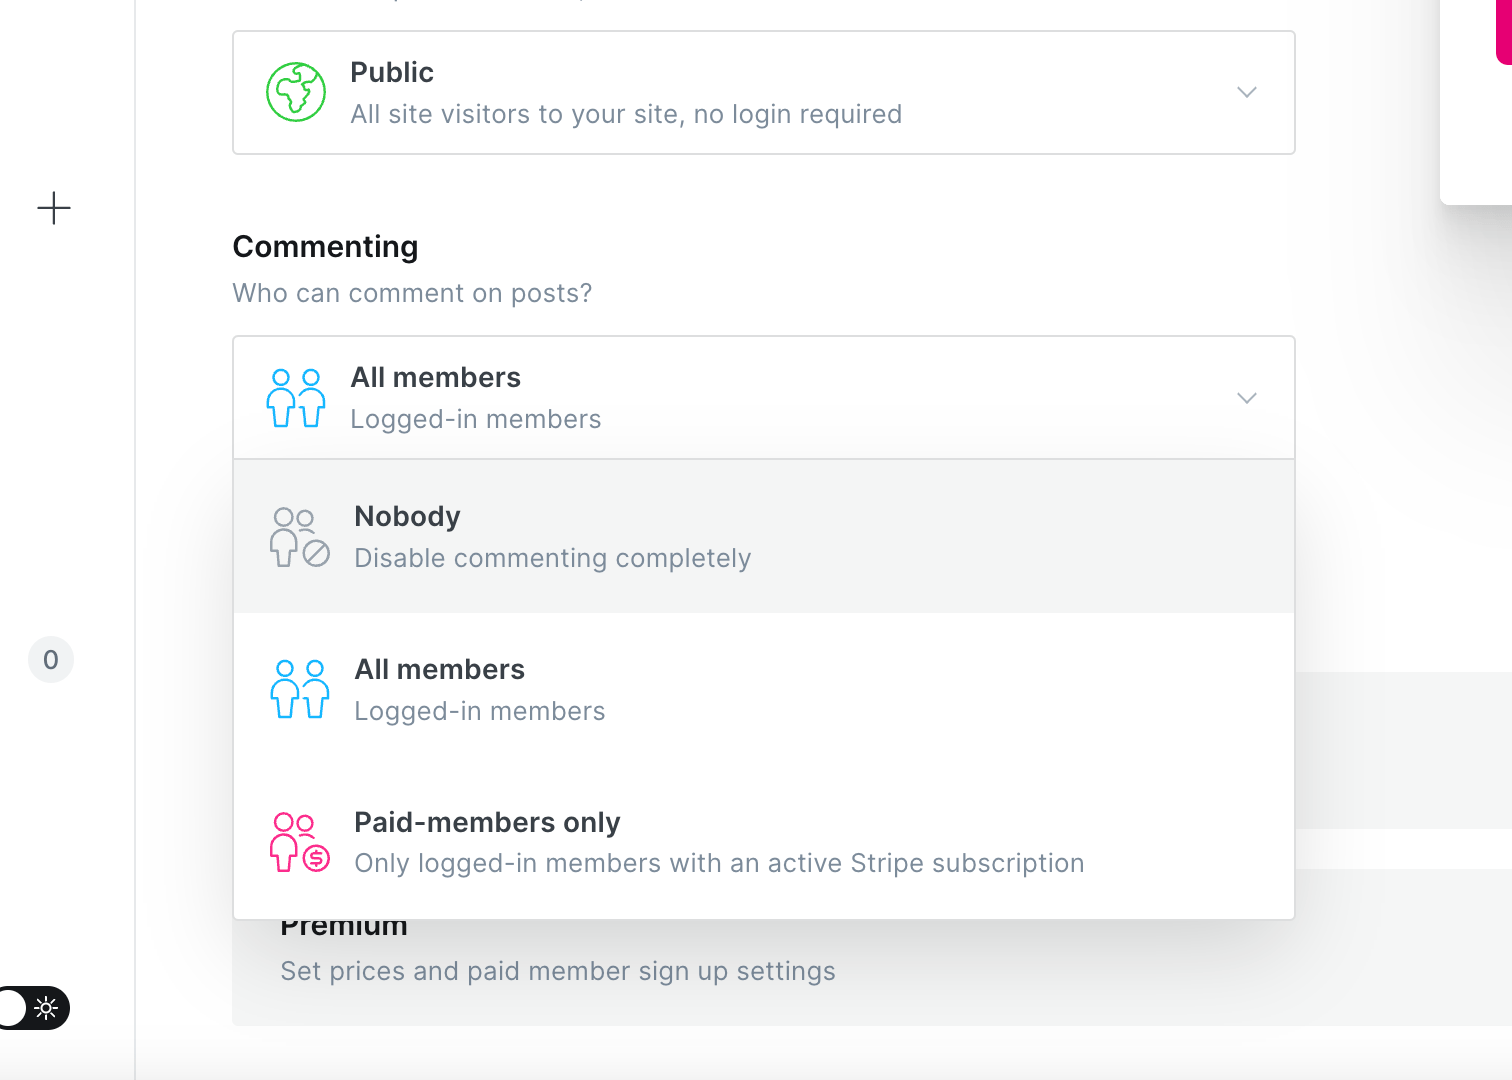
Comments
Theme support native Ghost comments which you can enable if you go to Settings > Membership and choosing who can post a comment.
Customizations
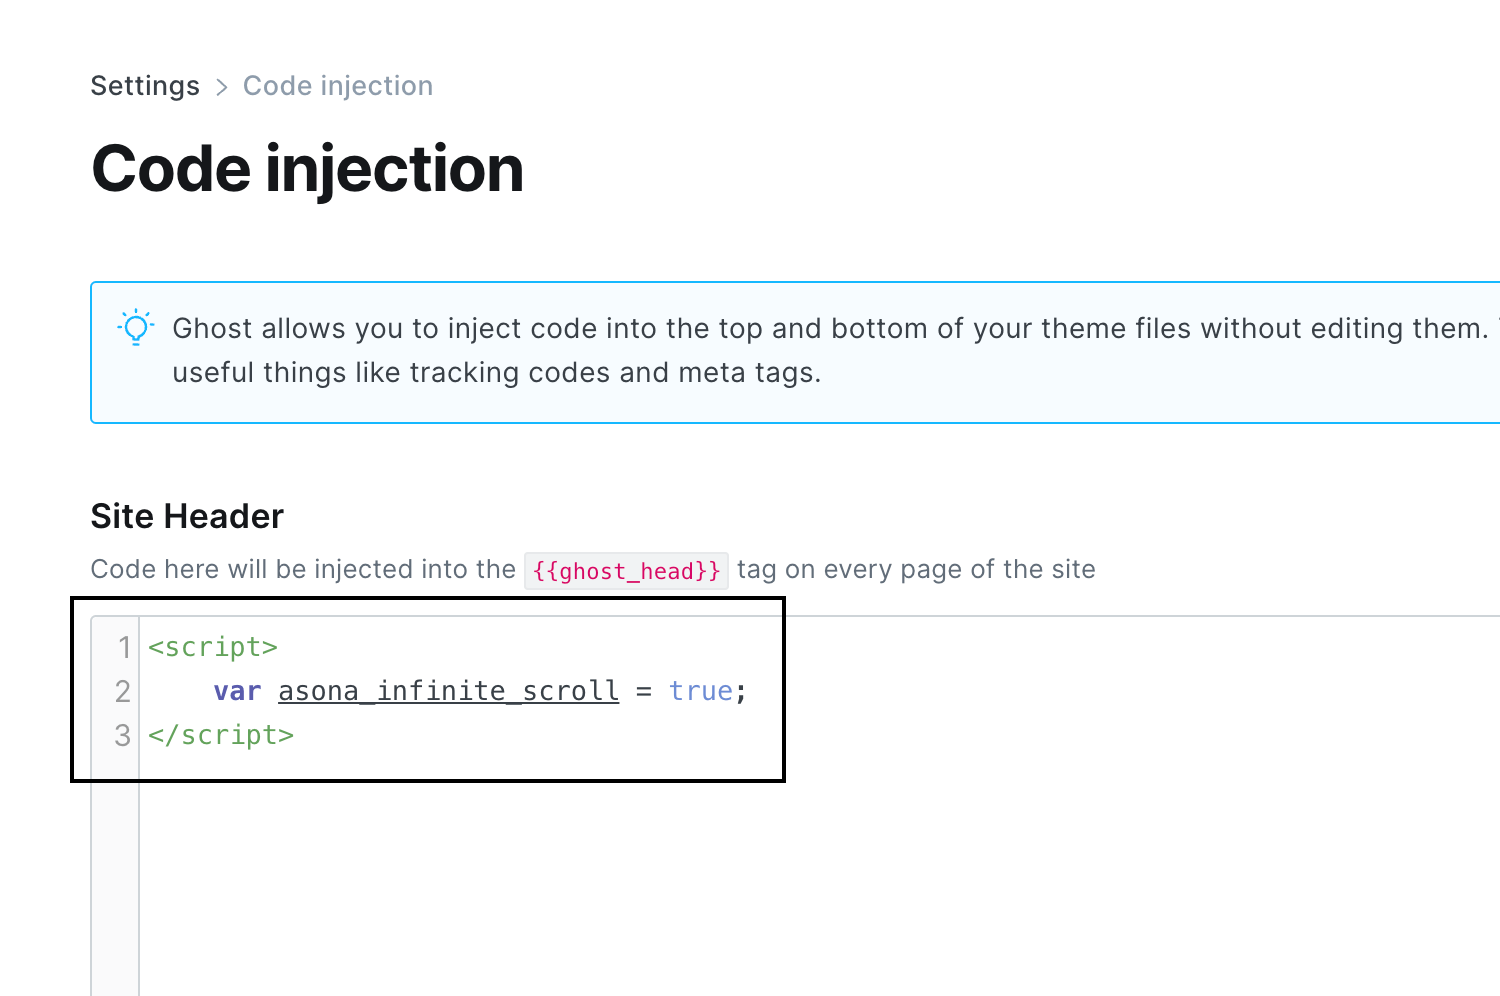
Infinite Scroll
To enable infinite scroll you need to go to Settings > Code injection and enter custom script setting that will enable it.
<script>
    var asona_infinite_scroll = true;
</script>
Copyright Text
To customize the copyright text you can do it by going to Settings > Design > Site Wide and using the Copyright text setting.
There are few placeholders that can help you to insert dynamic things.
{sitetitle}- Your site title{year}- Current year{ghostlink}- Link to ghost homepage

Social Icons
Ghost by default supports only Facebook and Twitter. You can change those by going to Settings > General and expanding the Social accounts section.
Theme adds support for 4 more: Instagram, TikTok, YouTube and LinkedIn. To add them you need to go to Settings > Design > Site Wide and add the urls.
Theme has support for many different social icons but you would have to manually add links for them by modifying the template partials/socials.hbs. All the icons are inside the partials/icons/socials/
E.g if we want to add a new social link for Mastadon
<a href="https://mastodon.social/@example" aria-label="'Follow on Mastadon'" target="_blank" rel="noopener noreferrer" class="socials__link" data-social="mastadom">{{> 'icons/socials/mastadon'}}</a>
Logo Height
To change max logo size go to the Settings > Code injection > Site Header and paste the code below. Change the 25px to your desired height.
<style>
    :root {
        --asona--size--logo: 40px;
    }
</style>
Posts per Page
The posts_per_page defines the number of posts that appear in your collections until it's paginated. For example, the value of posts_per_page is used on the homepage, tag, and author templates.
By default, this is set to 18, but you can change it in the package.json file:
"config": {
    ...
    "posts_per_page": 18
    ...
}
Fonts
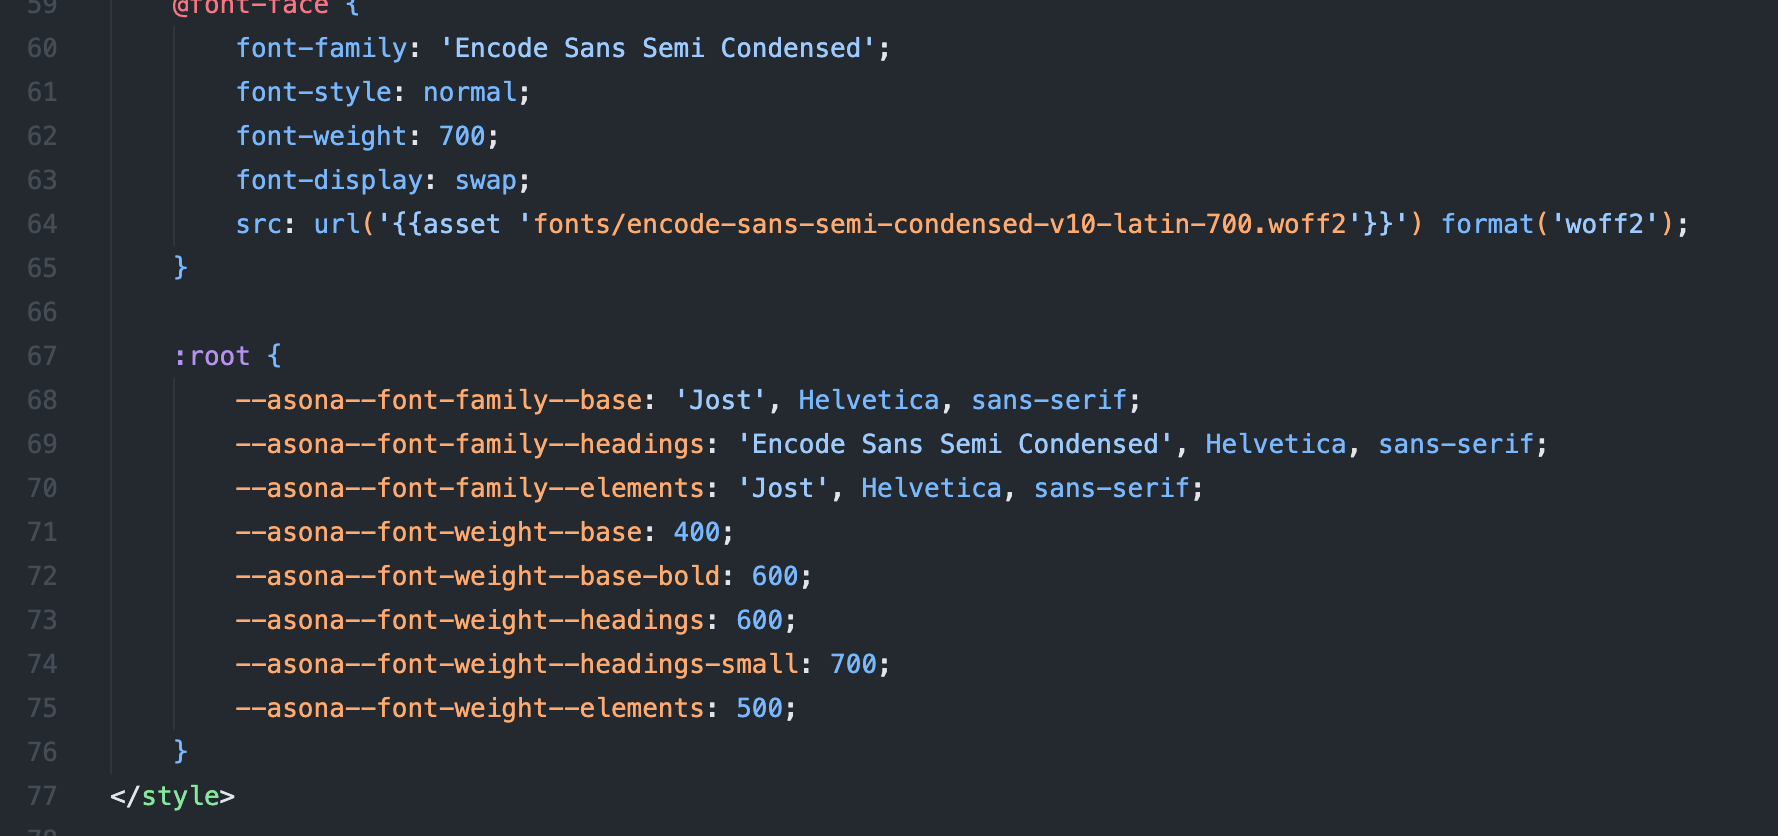
Theme comes with a partials/helpers/fonts.hbs that enables you to easily change the fonts to any font you like.
We have used self-hosted fonts but you can easily replace them with just a link to e.g. Google Fonts.
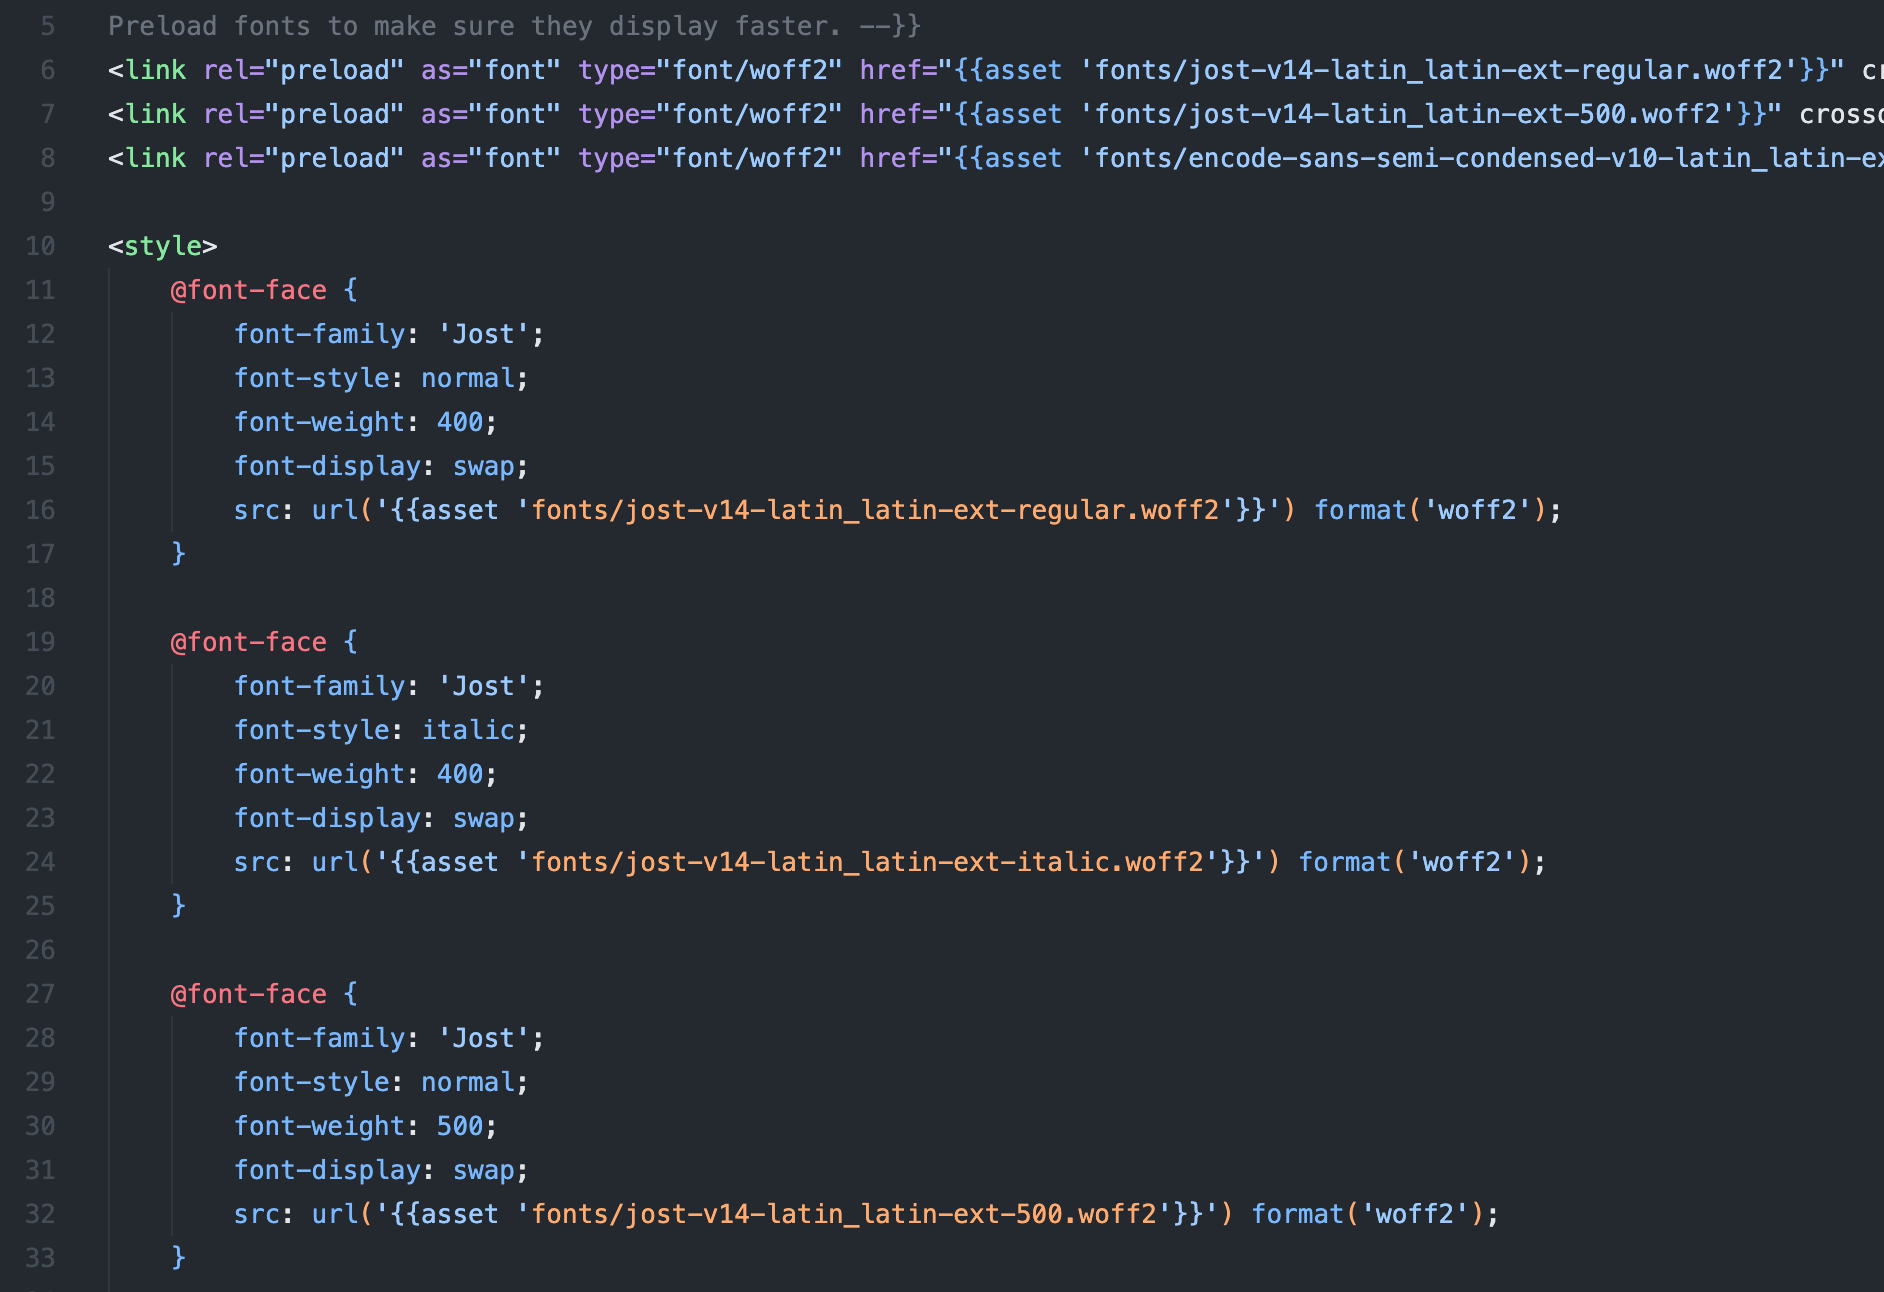
When you have replaced the fonts you need to now use those names so the theme recognizes them. We have added those custom CSS properties inside the file for you to easy change.
Developers
If you want to make more advanced changes to the theme, or you want to develop your components, the theme comes with a developer-friendly setup.
All the assets are combined and minified for better speed and performance using the amazing Vite. To customize the theme make sure you have Node.js and npm installed.
Follow the official guide for installing Ghost locally. After you have installed Ghost and put the theme directory inside the content/themes/ directory.
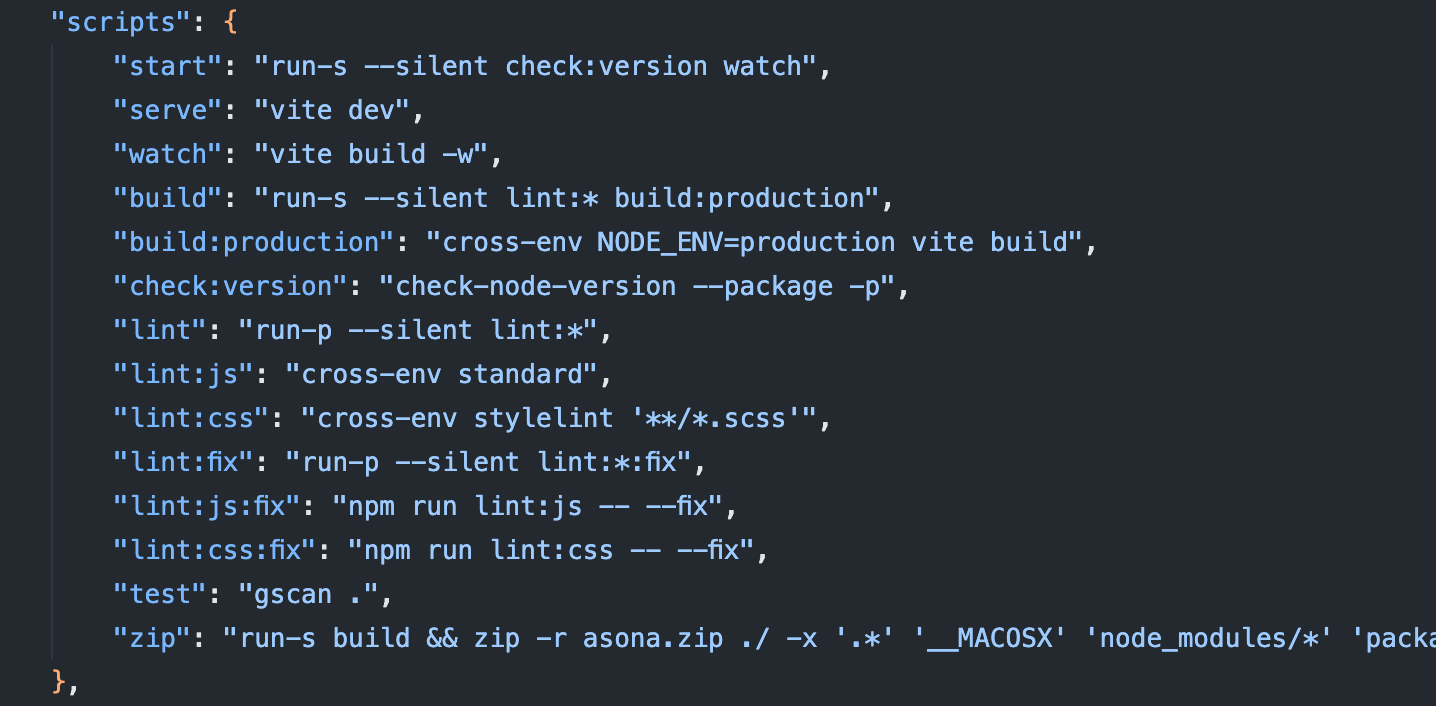
In the package.json under scripts section you can see all the commands available to you that you can run when you are inside the theme directory.
To install dependencies.
npm install
To start development and watch the files for changes.
npm start
To build the final assets.
npm run build
Theme comes with predefined linting rules for CSS and JS and are requirement for the build. As seen here all linting scritps are run before actually building theme assets.
"build": "run-s --silent lint:* build:production",
But you can easily use a command that doesn't require linting to pass.
npm run build:production
To help you fix linting errors use either
npm run lint:fix
To fix all linting errors at once (probably needs to be run few times).
Or try to fix individually things e.g.
npm run lint:js:fix
npm run lint:css:fix
Changelog
Version 1.3 (12 April 2025)
- Fixed issue with comments and dark mode
- Fixed issue with Ghost portal modal body margins
- Added homepage hero section with image and text
- Added support for Ghost fonts settings
Version 1.2 (9 November 2024)
- Fixed issue with template breaking if there is no copyright text
- Added translations for DE, ES, FR, IT and PT
- Improved styling support for header v2 and signup cards
- Several styling improvements like spacings, color, sizes and layout
Version 1.1 (14 August 2023)
- Added custom styling support for new header v2 and signup cards
- Several minor improvements like spacings and layout
Version 1.0 (19 June 2023)
- Initial release